
How to Connect WordPress Forms to Google Sheets (Step by Step)
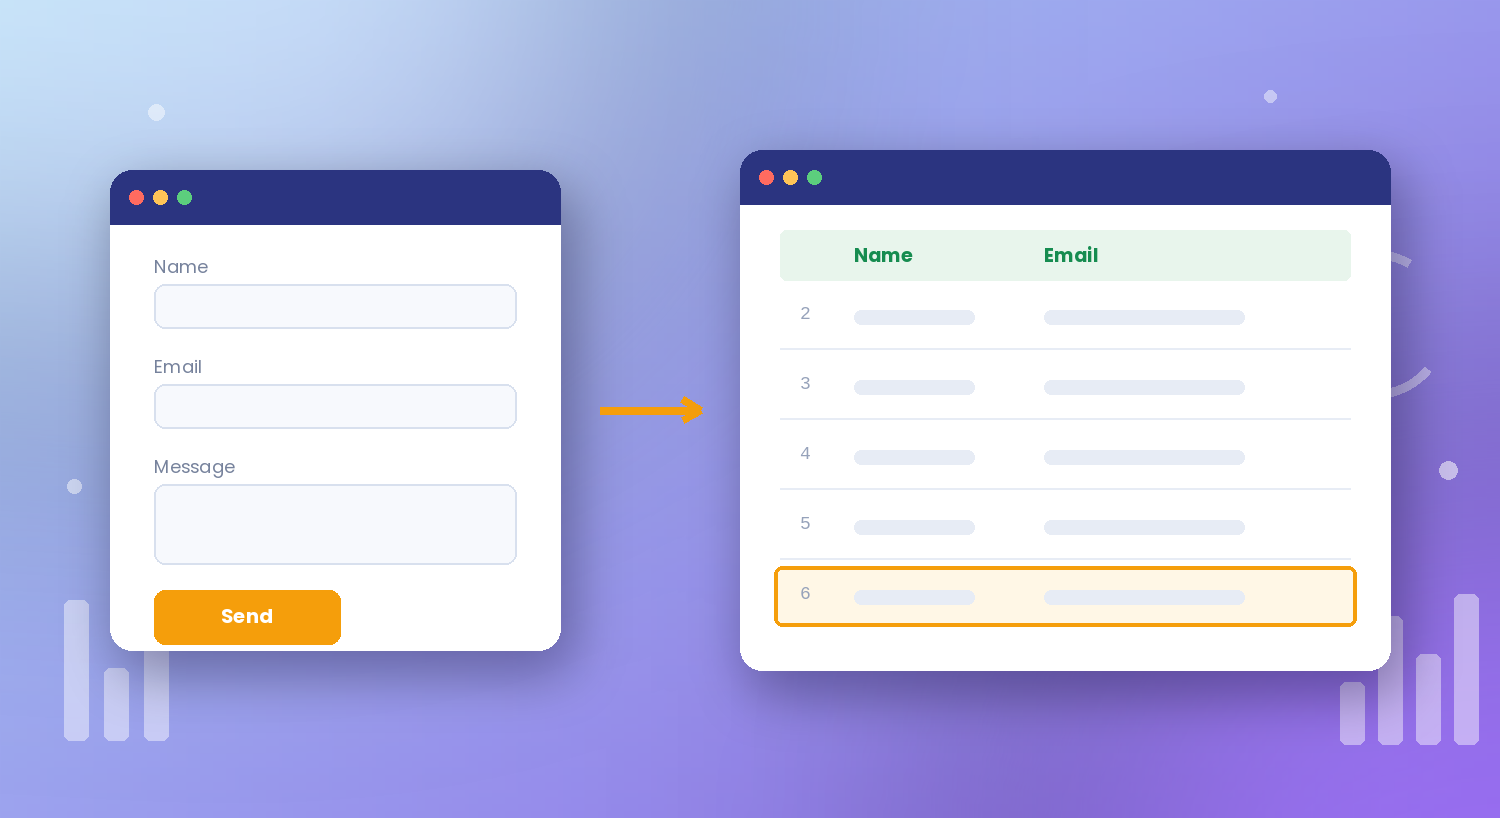
Sending every WordPress form submission to a Google Sheet means your team can see new leads, sort them and share them without logging in to WordPress. With the free Google Sheets add-on in Auto Form Builder, each new entry appears in your sheet automatically, as a new row. The setup has a few steps on the Google side, so this guide goes through every one of them, in the order you do them. It takes about ten minutes, and you only do it once.
What you need before you start
- A WordPress site with Auto Form Builder and a form you want to connect, such as a contact form
- A Google account (a normal Gmail account is fine)
- About ten minutes
You don’t need any code, and you don’t need a credit card. Everything below is free.
Step 1: Activate the Google Sheets add-on
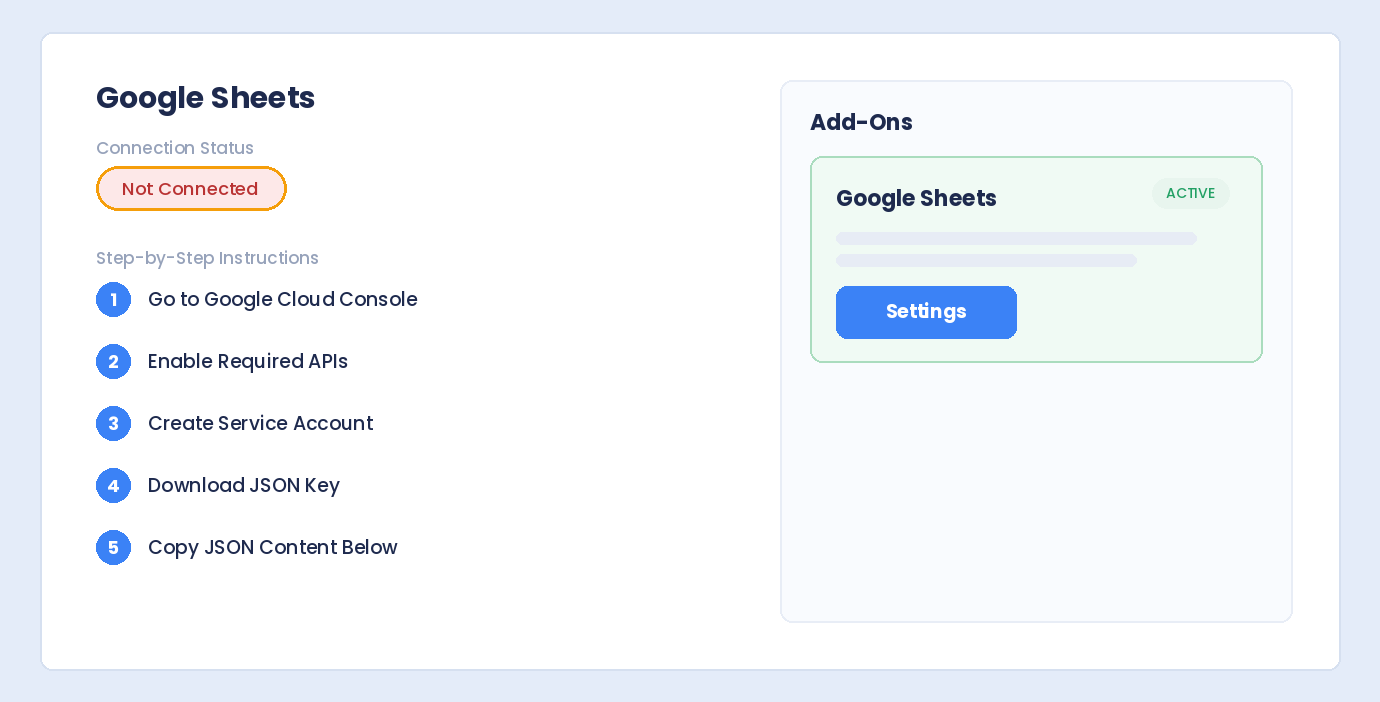
In WordPress, go to Auto Form Builder → Add-Ons, find Google Sheets and click Activate. Like every add-on, it comes free with the plugin. Then click Settings.
The page shows Not Connected at the top. To connect, the plugin needs a key from your Google account. The page also lists the steps to get that key, so you can come back to it any time. Keep this tab open.
Step 2: Create a Google Sheet and a Google Cloud project
First, make the spreadsheet that will receive the answers. Go to sheets.google.com, click Blank spreadsheet and give it a clear name, such as Website Contact Form.
Next, open Google Cloud Console. If it’s your first visit, Google may ask you to accept its terms. That’s normal. If you see a free trial offer, you can ignore it.
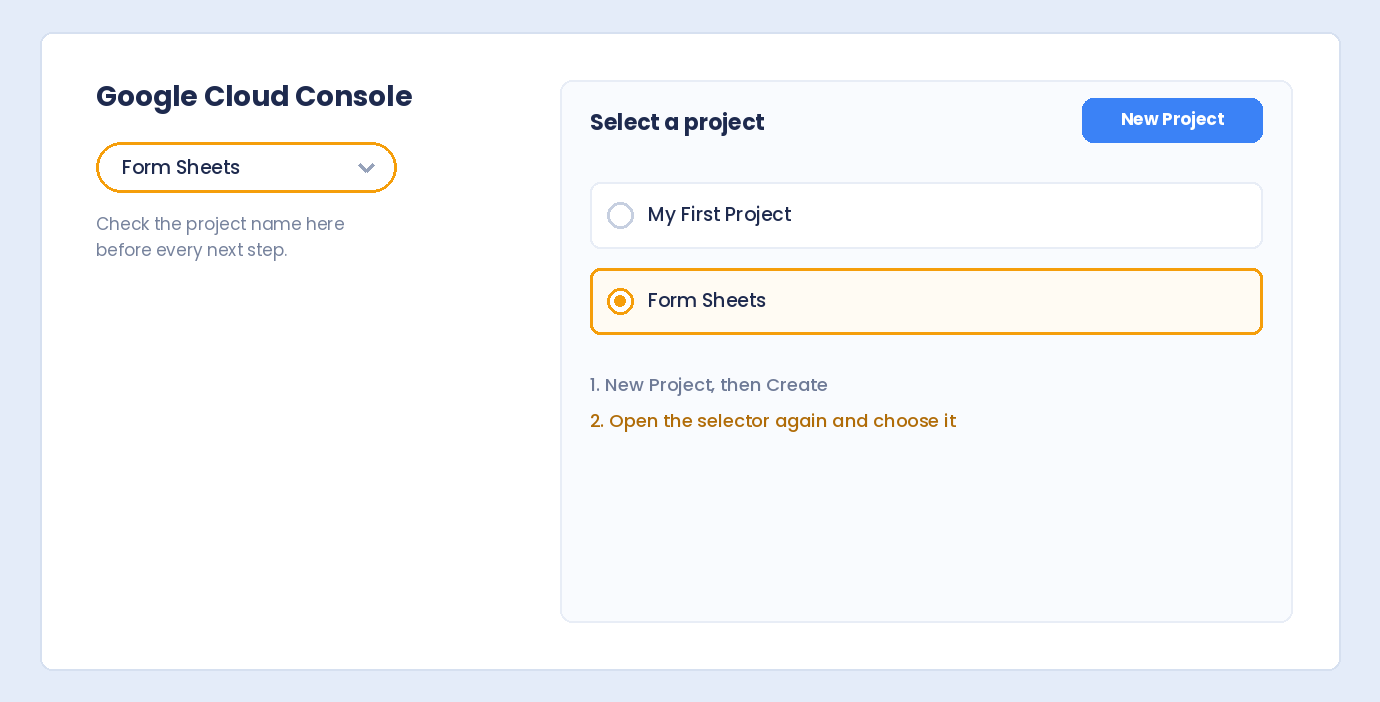
Google Cloud keeps everything in projects, so create one:
- Click the project selector at the top of the page, then New Project.
- Give it a simple name, such as Form Sheets, and click Create.
- Select the new project. Creating a project doesn’t open it. Click the project selector again and choose your project, then check that its name is shown at the top.
That third step is the one beginners miss most often. If the wrong project is selected, everything you do next happens in the wrong place.
Step 3: Enable the Google Sheets API and Google Drive API
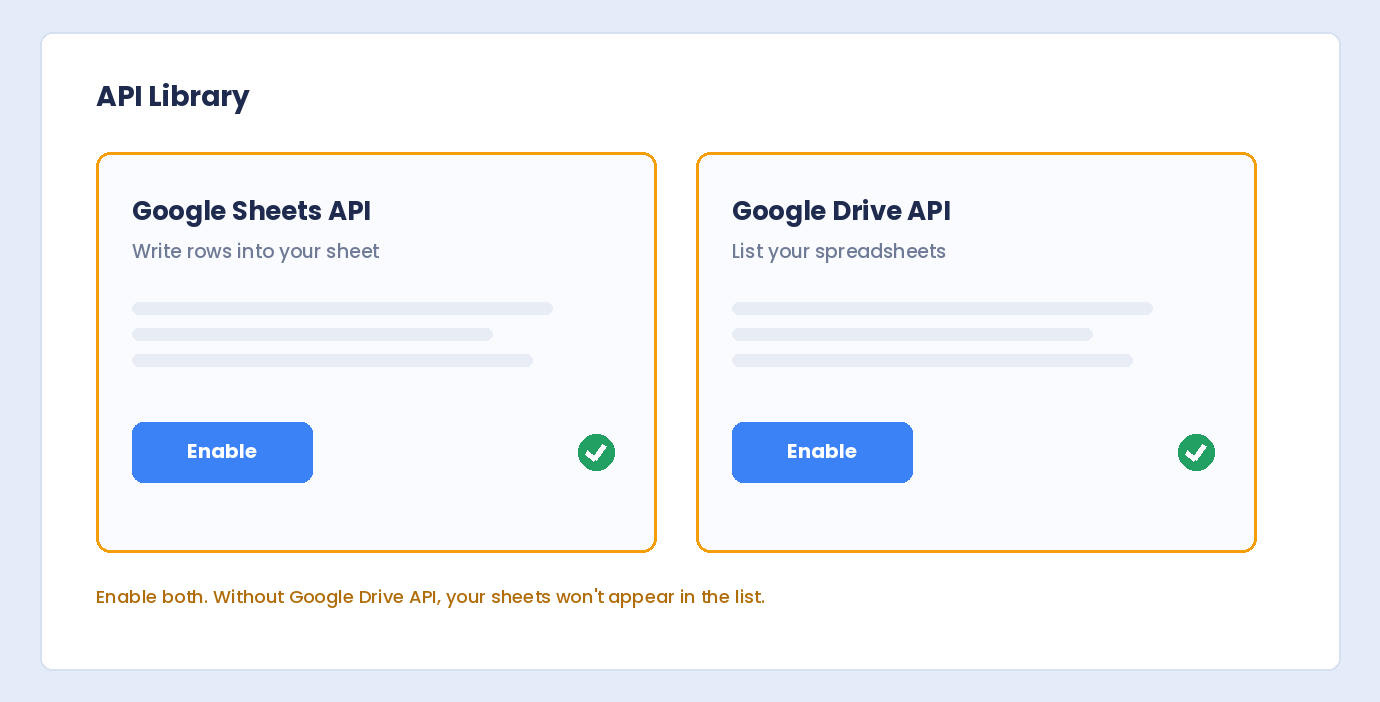
An API is a door that lets another app, here your website, use a Google service. The plugin needs two of them:
- Google Sheets API lets the plugin write rows into your sheet.
- Google Drive API lets the plugin list your spreadsheets, so you can pick one from a menu later.
Go to APIs & Services → Library, search for Google Sheets API, open it and click Enable. Then go back to the library, search for Google Drive API, open it and click Enable again. You need both; without the Drive API, your spreadsheets won’t appear in the list.
Step 4: Create a service account and a JSON key
A service account is like a robot Google user that belongs to your project. Your website signs in as this robot to add rows to your sheet, so the connection keeps working without anyone having to log in.
- Go to APIs & Services → Credentials. You may see a message about the OAuth consent screen. You can ignore it; it belongs to a different way of connecting.
- Click Create credentials → Service account.
- Give it a name, such as Form Connector, and click Create and continue. The next screens are optional, so click Continue and then Done.
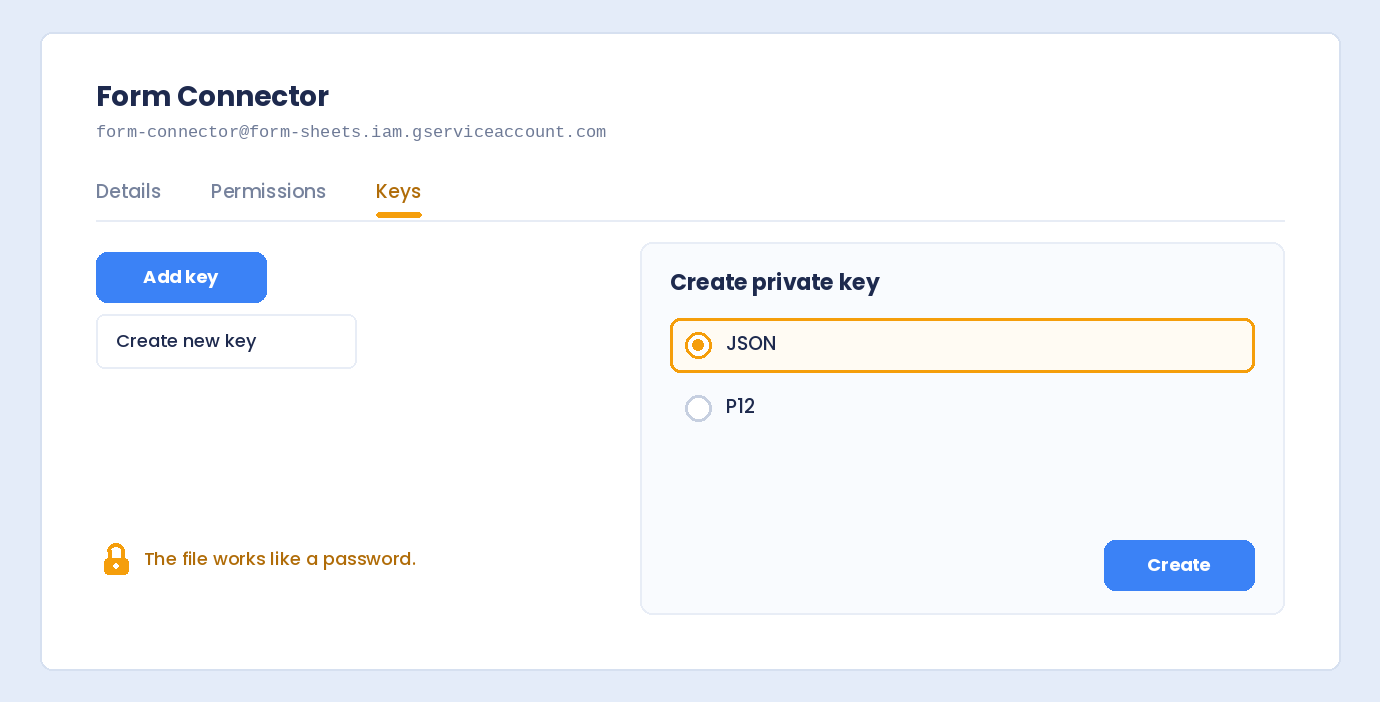
- Click the new service account to open it. Copy its email address, which ends in
.iam.gserviceaccount.com. You’ll need it in the next step. - Open the Keys tab, click Add key → Create new key, choose JSON and click Create. A small file downloads to your computer.
Treat that JSON file like a password. Don’t email it, and don’t post it anywhere.
Step 5: Share your sheet with the service account
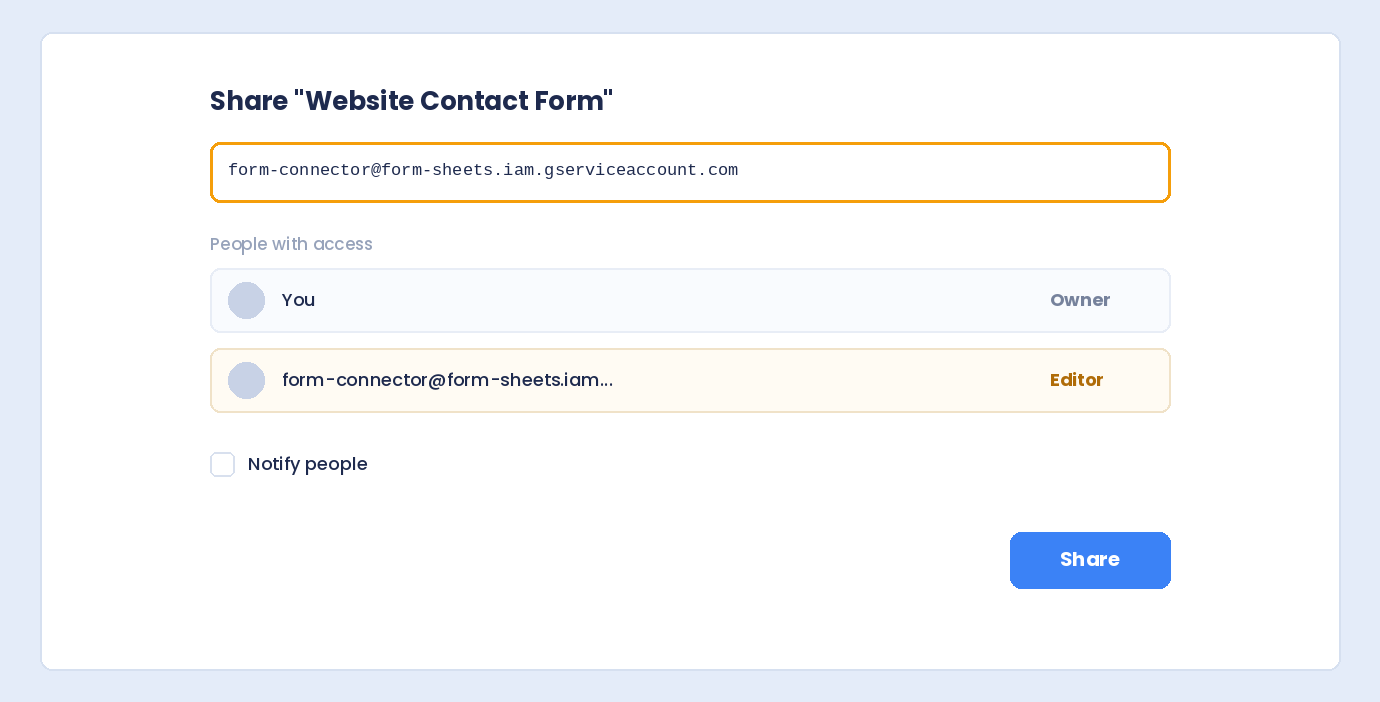
This is the step people forget most often. The robot can only write to sheets that are shared with it.
Go back to your spreadsheet and click Share. Paste the service account’s email, set its access to Editor, untick Notify people (a robot doesn’t read email), and click Share. If Google warns you about sharing outside your organization, click Share anyway.
Step 6: Connect the plugin and choose a form
Back in WordPress, on the Google Sheets settings page:
- Open the JSON file with a plain text editor such as Notepad, select everything and copy it.
- Paste it into the Service Account Key (JSON) box and click Test Connection. You should see Successfully connected. The plugin saves the key encrypted and doesn’t show it again; to change it later, paste a new one.
- Check the sending options. Submissions are sent straight away and added as new rows at the bottom. Leave Create column headers automatically ticked, so the field names are written into the first row, and Include submission timestamp if you want the date and time of each entry.
- Under Enable Forms, switch your form on and click Configure Mapping.
- Choose your Spreadsheet. If it’s not in the list, click Refresh, and check Steps 3 and 5. Then choose the Worksheet: the tab at the bottom of your sheet, Sheet1 in a new spreadsheet.
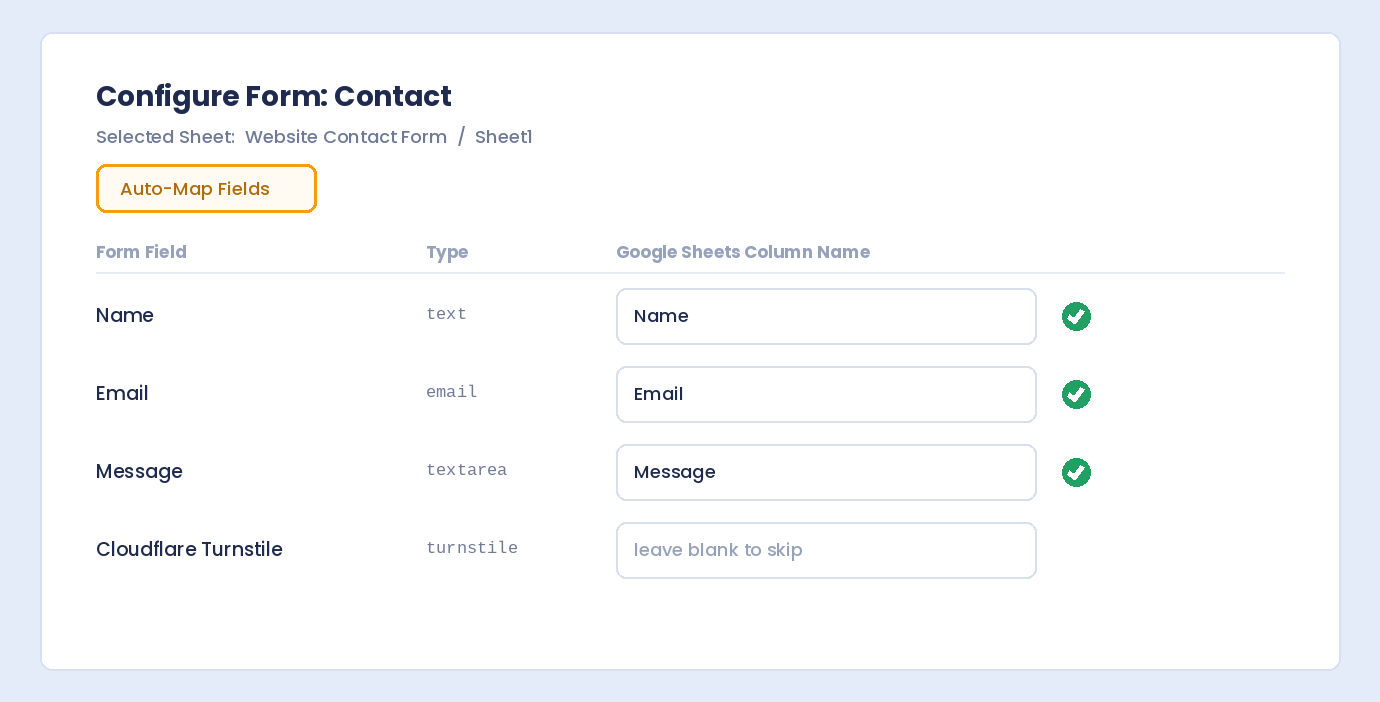
- Click Next: Map Fields, then Auto-Map Fields. Each field gets a column name from its label. Leave a column name empty to skip a field, for example a spam-check field, which has no answer to send.
- Click Save Configuration, then Save Settings at the bottom of the page.
Now send a test entry from your form. A few seconds later, it appears in your sheet, under the column headers.
If something doesn’t work
- The spreadsheet isn’t in the list. Share it with the service account as an Editor, make sure the Google Drive API is enabled, then click Refresh.
- Test Connection fails. Paste the whole file, from the first
{to the last}, into an empty box. Don’t edit any of it. - The APIs or the service account seem to be missing. Check the project name at the top of Google Cloud. You may be looking at a different project, such as My First Project.
- The column headers disappeared. They are written the first time a form sends to an empty sheet. If you clear the whole sheet later, type the headers back into row 1 with the same names.
Summary
To connect WordPress forms to Google Sheets: activate the free add-on, create a sheet and a Google Cloud project (and select it), enable the Google Sheets and Google Drive APIs, create a service account with a JSON key, share the sheet with the service account as an Editor, then paste the key, test the connection and map your form. From then on, every new submission lands in your sheet on its own. If you’d rather send entries to a CRM, Zapier or Make, use webhooks instead, and to protect the form from bots first, add spam protection.
Related reading: Google Sheets add-on · Export and import WordPress forms · Managing WordPress form submissions
FAQ
Do I need a credit card or a paid Google Cloud plan?
No. Creating a Google Cloud project, enabling the Google Sheets and Google Drive APIs, and creating a service account are all free. You can ignore the free trial offer you may see in Google Cloud.
Why doesn't my spreadsheet appear in the list?
Usually for one of three reasons: the sheet isn't shared with the service account's email as an Editor, the Google Drive API isn't enabled, or the list needs refreshing. Check the first two, then click Refresh next to the Spreadsheet menu.
Are old submissions sent to the sheet too?
The add-on sends each new submission as it arrives, as a new row at the bottom of the sheet. For entries you collected before connecting, the simplest way is to export them with Export Entries in Settings → Import/Export, then open the file in Google Sheets.