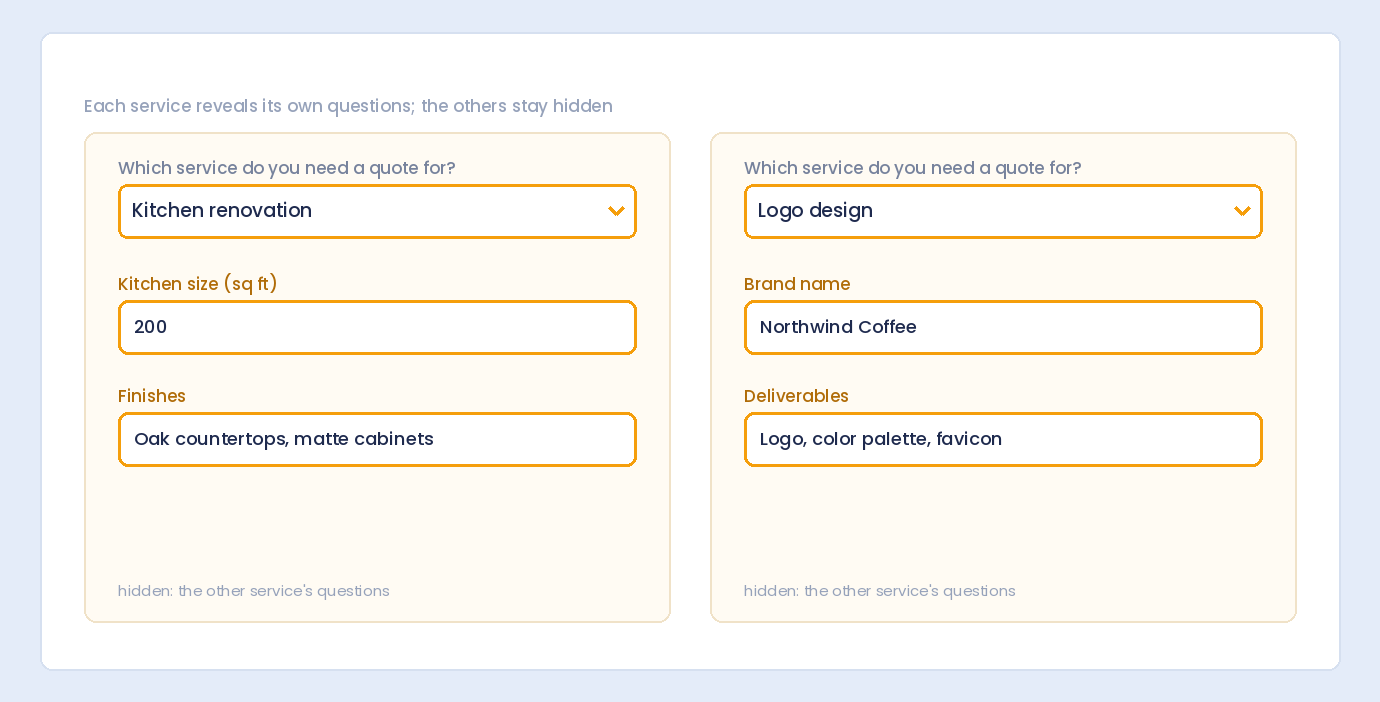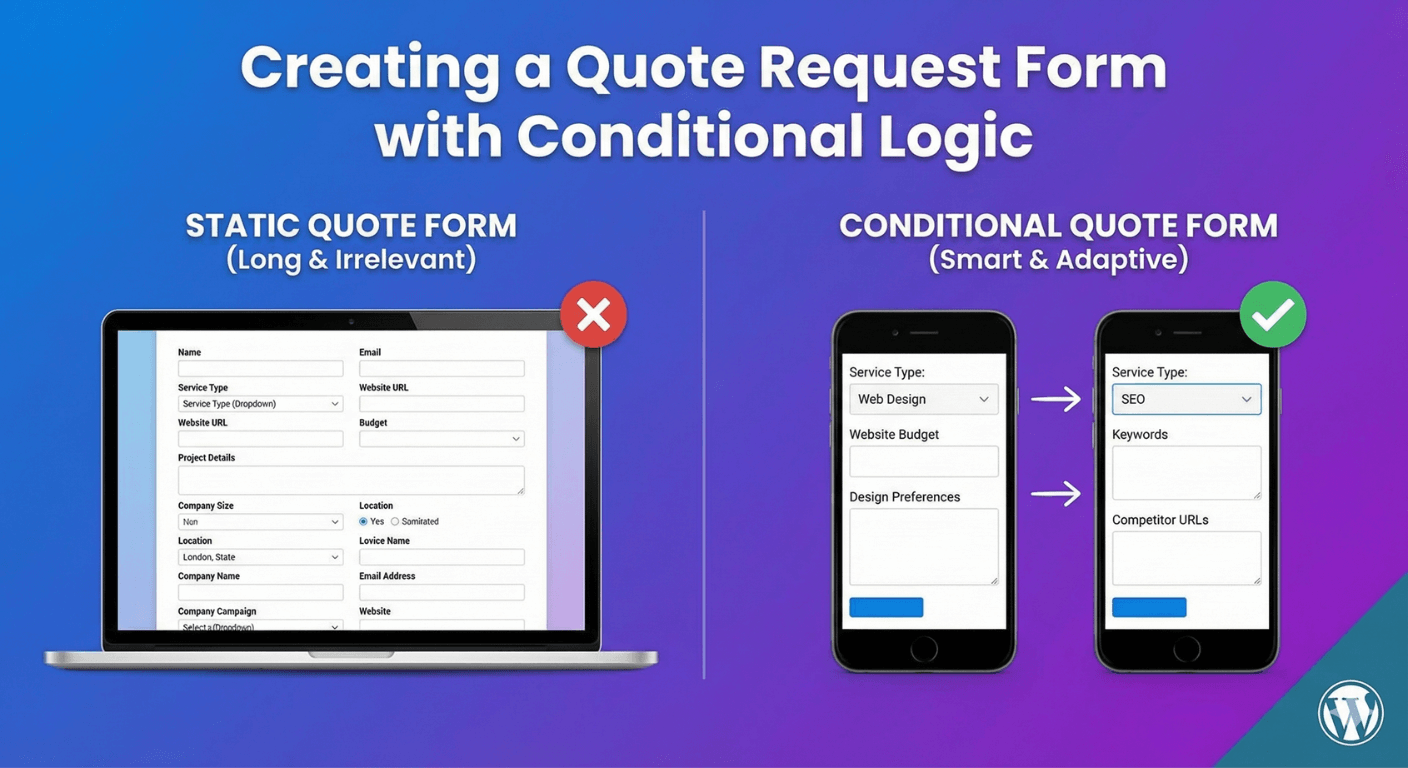
A quote request form should feel simple for visitors but collect enough detail for your team to price the job accurately. The challenge is that every service needs different questions — web design clients need URLs and page counts; print clients need dimensions and artwork files; installation jobs need site addresses and access notes.

With Auto Form Builder, you can build one quote form that adapts in real time. Use a service-type question up front, then show or hide the fields that matter for each answer — all from the drag-and-drop builder, with no custom code.

Last updated: Last update 22 August

Why Conditional Logic Fits Quote Requests

Quote forms often fail in one of two ways: they ask every possible question (overwhelming visitors) or they use separate forms per service (hard to maintain). Conditional logic solves both problems on a single form.

  • Shorter forms — Visitors only see fields relevant to their service type.
  • Better data quality — Required fields apply only when they are visible, so you get complete answers without irrelevant blanks.
  • One form to manage — Update notifications, styling, and spam protection in one place.
  • Smarter follow-up — Route urgent or high-value quote requests to the right inbox with conditional notification rules.

Every field in Auto Form Builder supports conditional logic with AND (all conditions must be met) or OR (any condition can be met) logic, multiple rules per field, and real-time show/hide on the front end.

Start Your Quote Form

Auto Form Builder includes starter templates such as Blank Form and Contact Form, but there is no dedicated quote template. That is intentional — quote forms vary widely by industry. Start from a blank canvas or adapt the Contact Form template, then add the fields and logic below.

  1. Go to Auto Form Builder → Forms → Create New Form.
  2. Choose Blank Form or Contact Form as your starting point.
  3. Rename the form (for example, “Request a Quote”) in the builder.

Recommended Fields for a Quote Request Form

These built-in field types cover most quote workflows. Adjust labels and options to match your business.

Always visible (core contact details)

  • Name — Full name or separate first/last subfields.
  • Email — Required; used for confirmation emails and Reply-To on admin notifications.
  • Phone — Optional or required depending on your sales process.
  • Dropdown or Radio Buttons — “What service do you need a quote for?” (this becomes your conditional trigger).
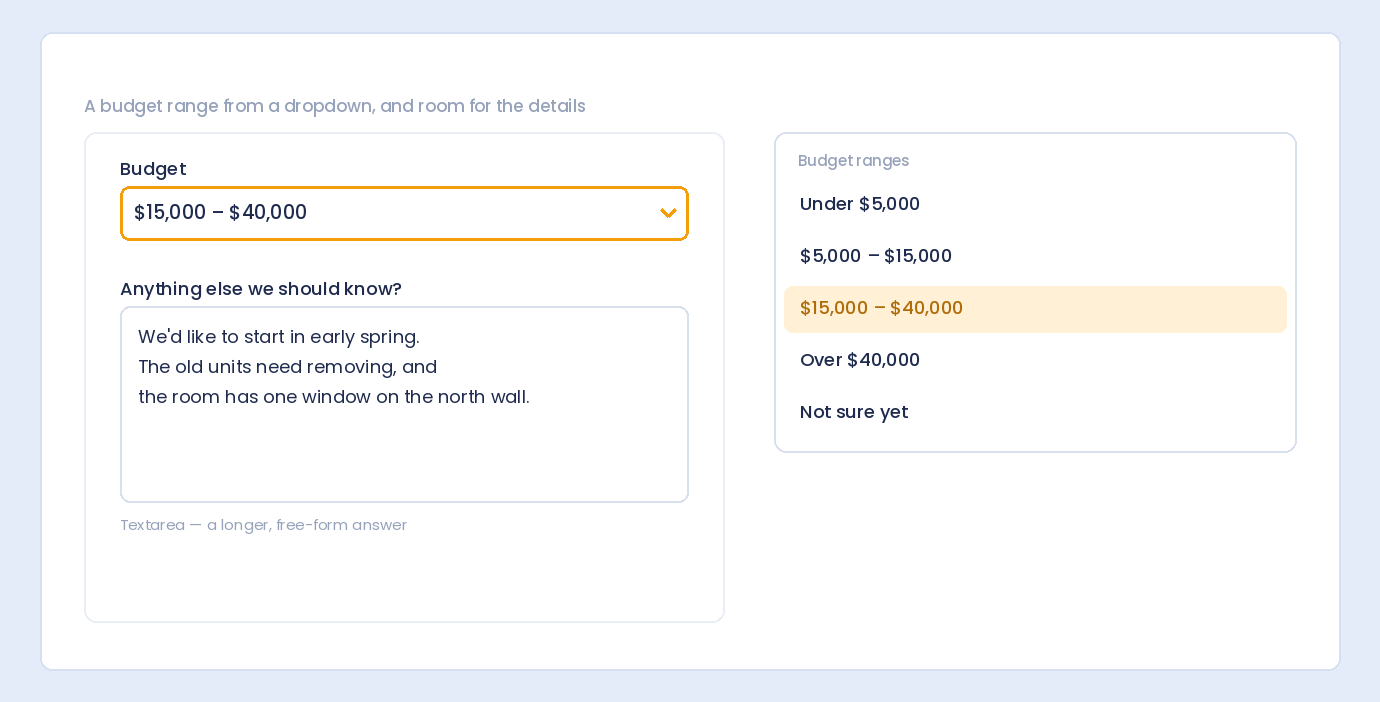
  • Text Area — “Describe your project” for open-ended scope details.

Conditional fields (shown based on service type)

  • Text Input — Website URL, product SKU, reference number, or project title.
  • Number — Quantity, square footage, guest count, or timeline in days. Number fields support formats including plain numbers and percentage (%).
  • Date — Preferred start date or deadline.
  • Address — Installation or delivery location when location affects pricing.
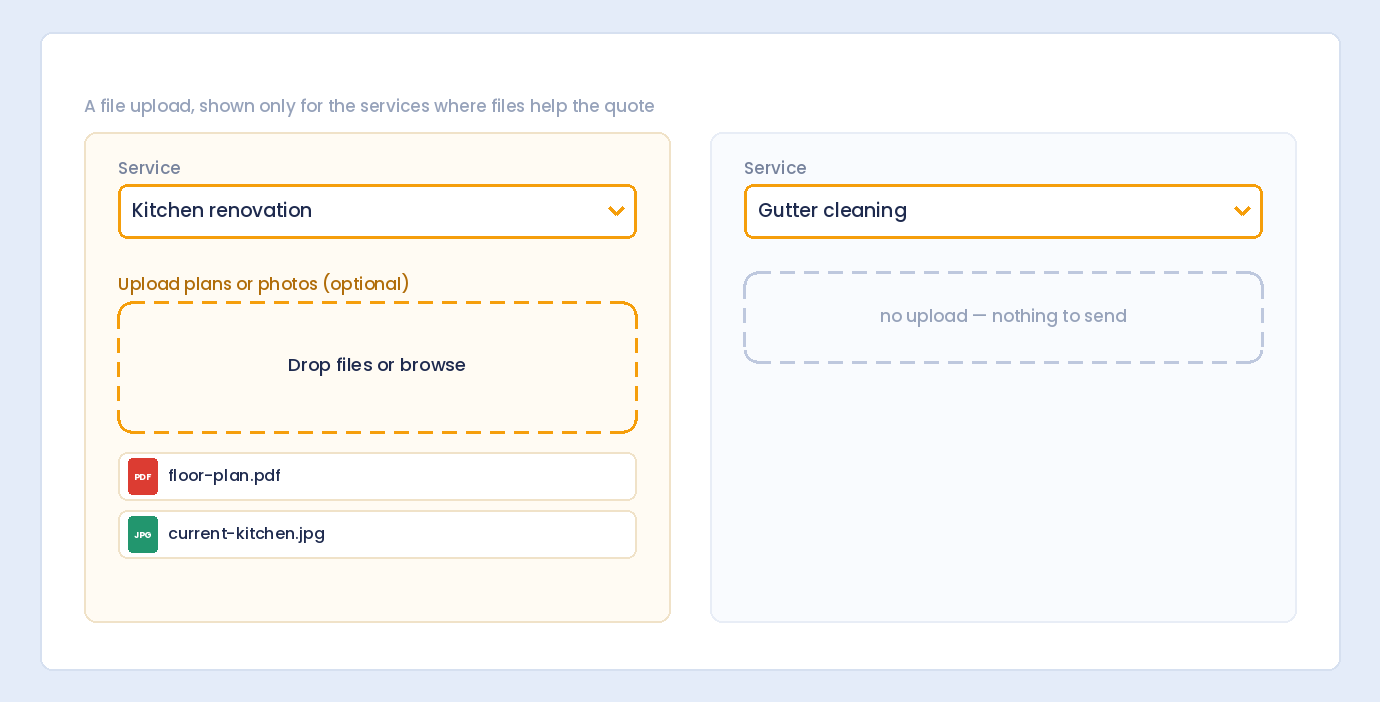
  • File Upload — Specs, drawings, logos, or briefs. Restrict file types (documents, images, etc.), set max file size in MB, and allow multiple files when needed.
  • HTML Block — Section headings and instructions (for example, “Print Specifications”) between conditional groups.

Example: Service-Based Conditional Fields

Suppose your dropdown Service Type has these options:

  • Web Design
  • Print & Signage
  • On-Site Installation
  • Other

Web Design — show when Service Type equals “Web Design”

  • Text Input: Current Website URL
  • Number: Approximate number of pages
  • Dropdown: Do you need e-commerce? (Yes / No)

Print & Signage — show when Service Type equals “Print & Signage”

  • Number: Width and Height (separate fields or one combined description in a text area)
  • Dropdown: Material (Vinyl, Fabric, Paper, Other)
  • File Upload: Artwork or logo files (allow images and documents, set a sensible MB limit)

On-Site Installation — show when Service Type equals “On-Site Installation”

  • Address: Installation address
  • Date: Preferred installation date
  • Text Area: Site access notes (parking, floor level, lift availability)

Other — show when Service Type equals “Other”

  • Text Area: Tell us more about what you need (required)

Each conditional field uses the same pattern: enable conditional logic, choose Show, set the trigger field to Service Type, operator Equals, and the matching option value.

How to Set Up Conditional Logic on a Field

Conditional logic is configured per field in the form builder — not globally. Follow these steps for each field that should appear only for certain services.

Step 1: Add the trigger question first

Place your Service Type dropdown or radio field near the top of the form, before any fields that depend on it. Conditional logic evaluates other fields based on values visitors enter here.

Step 2: Add dependent fields below

Add the service-specific fields after the trigger. You can group them with an HTML Block section heading for clarity.

Step 3: Enable conditional logic on each dependent field

Select a dependent field, open its settings, and check Enable Conditional Logic.

Step 4: Choose AND or OR logic

  • All conditions must be met (AND) — Use when a field should appear only when multiple answers match (for example, Service Type equals “Print” and Material equals “Vinyl”).
  • Any condition can be met (OR) — Use when one of several answers should reveal the same field (for example, Service Type equals “Web Design” or Service Type equals “Other”).

Step 5: Add rules with operators

For each rule, choose Show or Hide, pick the source field, and set the operator:

  • Equals / Not equals
  • Contains / Doesn't contain
  • Greater than / Less than
  • Is empty / Is not empty

Enter the comparison value (for example, the exact dropdown option text or value). Save the form and test each service path in preview.

Step 6: Test every service path

Submit test entries for each service type. Confirm hidden fields do not appear in submissions and that required fields hidden by conditional logic do not block submission — Auto Form Builder skips validation for fields that are not visible when conditions are not met.

Organize the Form with HTML Blocks

Long quote forms benefit from visual structure. Add HTML Block fields from the Layout category to introduce sections:

<h2>Project Details</h2>
<p>Select your service type below. We'll ask follow-up questions based on your choice.</p>

Place another HTML Block before each conditional group (“Web Design Details,” “Print Specifications,” etc.). HTML Blocks are display-only and are not stored in submission records.

Notifications and Conditional Email Rules

After building the form fields, open the Form Settings tab to configure what happens when a quote is submitted.

Admin notification email

  • Enable Send email notification when form is submitted.
  • Set the notification recipient (supports multiple comma-separated addresses).
  • Customize subject and message. Placeholders include {form_name}, {site_name}, {date}, {time}, {entry_id}, and {submission_data}.
  • Enable Use submitter's email as Reply-To and select your email field so your team can reply directly from the notification.
  • Choose HTML or plain-text format for the notification.

Conditional notification rules

Under Conditional Notification Rules, route quotes by priority or service:

  • If Priority equals “Urgent,” send to [email protected].
  • If Service Type equals “On-Site Installation,” send to your installations team inbox.
  • If a rule matches “skip,” the default notification is not sent for that submission.

The first matching rule wins. If no rule matches, the default notification settings apply.

User confirmation email

Enable a confirmation email so visitors receive an acknowledgment with their quote request summary. Map it to your email field and customize the subject and message. Conditional confirmation email rules let you send different copy based on answers — for example, a longer “What happens next” message for complex services.

Conditional thank-you messages and redirects

Under submission behavior, add Conditional Confirmations to show a tailored success message or redirect to a service-specific thank-you page when a rule matches — useful when web design and installation quotes follow different sales funnels.

Quote Form Best Practices

  • Ask the service type first. Every conditional branch depends on this answer — keep it visible and easy to find.
  • Keep always-visible fields minimal. Name, email, service type, and a short project description are usually enough before branching.
  • Match option values exactly. Conditional “Equals” rules compare against the stored option value — test after renaming dropdown options.
  • Mark conditional fields required only when visible. Required settings apply when the field is shown; hidden fields will not block submission.
  • Limit file uploads sensibly. Allow only the file types you need and set a max size in MB so visitors know what to attach.
  • Preview on mobile. Conditional show/hide runs in real time; confirm the form stays readable as fields appear and disappear.
  • Review submissions in the inbox. All quote data is stored on your WordPress site — filter, star, and mark submissions read/unread from the Submissions screen.

What Auto Form Builder Does Not Include for Quotes

Set expectations when planning your workflow:

  • There is no built-in quote or pricing calculator — collect scope details; calculate prices offline or in your CRM.
  • There is no pre-built Quote Request template — build from Blank Form or Contact Form as described above.
  • Conditional logic controls visibility of fields, not automatic price totals — use Number fields for quantities and dimensions, not live estimates.

Frequently Asked Questions

How do I create a quote request form in WordPress?

Install Auto Form Builder, create a new form from Blank Form or Contact Form, add contact fields plus a service-type dropdown, then add service-specific fields with conditional logic so each path shows only relevant questions. Enable email notifications in Form Settings and embed the form on your page.

Can I show different fields based on the service selected?

Yes. Enable conditional logic on each dependent field, choose Show, and set a rule such as “Service Type equals Web Design.” Use AND logic when multiple conditions must match, or OR logic when any one of several answers should reveal the field.

Will hidden required fields block form submission?

No. Fields hidden by conditional logic are not validated as required when they are not visible. Visitors can submit the form with only the fields shown for their selected service path.

Can I send quote notifications to different email addresses?

Yes. In Form Settings, use Conditional Notification Rules to send notifications to different recipients, change the subject or message, or skip the notification entirely based on form answers. The first matching rule wins.

Can customers upload files with their quote request?

Yes. Add a File Upload field and restrict allowed types (images, documents, spreadsheets, etc.), set a maximum file size in MB, and optionally allow multiple files. Show the upload field conditionally when a service requires artwork or specifications.

Is conditional logic included in the free plugin?

Yes. Per-field conditional logic with AND and OR rules is included in the free Auto Form Builder plugin, along with conditional notification, confirmation, and thank-you rules in Form Settings.

Get Started with Auto Form Builder

Build a quote request form that asks the right questions for every service — with conditional logic, file uploads, and email notifications included free.

Download:
Auto Form Builder on WordPress.org

Plugin last updated: Last update 22 August

Build forms that embed anywhere — free

Auto Form Builder lets you create multi-step forms, calculators, and lead capture forms in WordPress, then embed them on any site with a single line of code.

Install the free plugin

Leave a Reply

Your email address will not be published. Required fields are marked *