Tutorials

How to Enable Drag and Drop File Uploads in WordPress

How to Enable Drag and Drop File Uploads in WordPress

Last updated: Last update 2 September

Letting visitors attach documents, images, or resumes directly through your website is one of the most requested form features — but the default browser file input is ugly, confusing, and does not support drag and drop. A modern drag-and-drop file upload field makes the experience faster and more intuitive on both desktop and mobile.

This guide shows you how to enable drag-and-drop file uploads in WordPress using Auto Form Builder. You will add a file upload field, turn on drag and drop, restrict file types and sizes, and manage uploaded files from your submission inbox — no coding required.

Why Use Drag-and-Drop File Uploads?

The standard HTML file input — a small “Choose File” button with “No file chosen” text — works, but it feels dated. Visitors on desktop expect to drag files from their folder directly onto the upload area. On mobile, they expect a large tap target that opens the native file picker.

A modern drag-and-drop upload field improves the experience in several ways:

  • Faster uploads — drag a file from the desktop instead of navigating through folder dialogs
  • Clearer interface — a visible upload zone with instructions instead of a tiny button
  • Visual feedback — the upload area highlights when a file is dragged over it
  • File previews — thumbnails for images and file-type icons so visitors confirm the right file before submitting
  • Progress indicators — upload progress bars when auto-upload is enabled
  • Higher completion rates — fewer visitors abandon the form at the upload step

Auto Form Builder includes a fully featured File Upload field with drag-and-drop support in the free plugin. No separate upload plugin or custom JavaScript required.

Default WordPress Uploads vs. Modern File Fields

WordPress itself handles media uploads in the admin dashboard, but it does not give your front-end forms a drag-and-drop upload experience out of the box. Most form plugins offer a basic file input — the same small browser button visitors have seen for decades.

Auto Form Builder replaces that with a modern file upload interface:

Feature Standard File Input Auto Form Builder File Upload
Drag and drop Not supported Enable with one checkbox
Upload area design Tiny browser button Large, styled drop zone with icon and instructions
Multiple files Limited browser support Full control with min/max file limits
File type restrictions Basic accept attribute Category checkboxes + custom extensions + server validation
Size limits Server default only Per-field MB limit with client and server checks
File previews None Image thumbnails and file-type icons
Upload progress None Progress bar with auto-upload option
Submission storage Varies by plugin Files saved and downloadable from the Submissions inbox

Step-by-Step: Add a File Upload Field

Step 1: Open the Form Builder

Go to Auto Form Builder in your WordPress admin and open an existing form or click Create New Form. The drag-and-drop builder loads on the canvas.

Step 2: Add the File Upload Field

Find File Upload in the fields sidebar and drag it onto your form canvas. Place it after the fields where you collect the visitor’s name and email — most upload forms collect contact details first, then the file.

Step 3: Configure the Field Label

Click the File Upload field to open its settings. Set a clear label:

  • “Upload Your Resume” for job applications
  • “Attach Supporting Documents” for support requests
  • “Upload Photo” for profile or entry submissions

Mark the field as Required if a file must be attached before the form can be submitted.

Step 4: Enable Drag and Drop

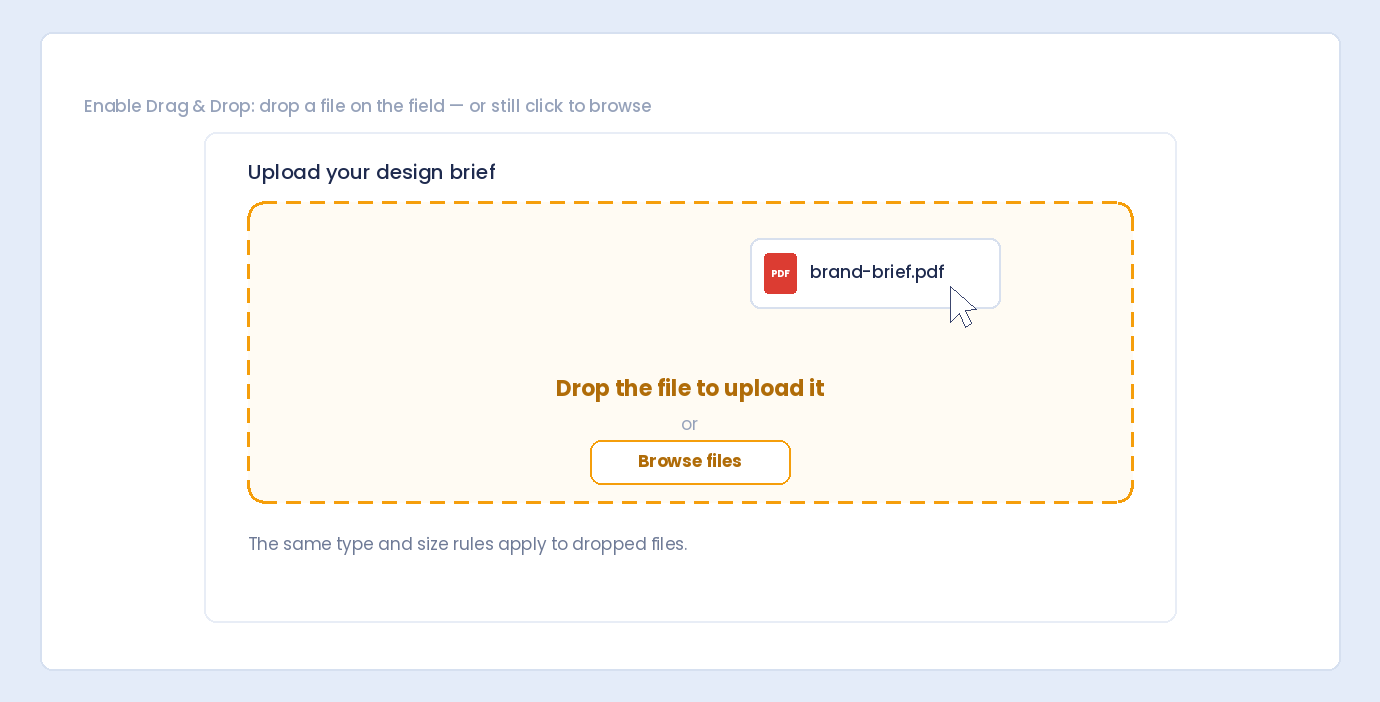
Scroll to the File Upload Options section and check Enable Drag & Drop. The upload area on the frontend will display “Drop file here or click to browse” instead of a basic button.

Step 5: Set Restrictions and Save

Configure allowed file types, maximum size, and whether multiple files are permitted (covered in the sections below). Save the form, copy the shortcode, and paste it onto your page.

Build forms that embed anywhere — free

Auto Form Builder lets you create multi-step forms, calculators, and lead capture forms in WordPress, then embed them on any site with a single line of code.

Install the free plugin

Enable Drag and Drop

Drag and drop is a single setting in Auto Form Builder — no code, no JavaScript snippets, no page builder widgets.

  1. Click the File Upload field in the builder
  2. Open the File Upload Options section in the settings panel
  3. Check Enable Drag & Drop
  4. Save the form

On the frontend, visitors see a styled upload area. They can either:

  • Drag a file from their computer and drop it onto the upload zone
  • Click the upload area to open the standard file browser

When a file is dragged over the zone, the area highlights with a visual drag-over state so visitors know exactly where to drop. On mobile, the tap-to-browse interaction works through the same upload area — no separate mobile configuration needed.

You can customize the upload button text separately. Change “Choose File” to something more specific like “Select Resume” or “Browse for Images.”

Restrict File Types and Sizes

Unrestricted file uploads are a security risk. Auto Form Builder gives you precise control over what visitors can attach.

Allowed File Types

Select file categories using checkboxes:

  • Images — JPG, PNG, GIF, WebP
  • Documents — PDF, DOC, DOCX, TXT, ODT
  • Spreadsheets — XLS, XLSX, CSV, ODS
  • Presentations — PPT, PPTX, ODP
  • Archives — ZIP, RAR, 7Z, TAR, GZ
  • Audio — MP3, WAV, OGG, MP4
  • Video — MP4, MOV, AVI, WebM, OGG

For more specific control, enter custom extensions in the Specific File Extensions field — for example, .jpg, .png, .pdf. Only files matching your allowed types can be selected or dropped.

Maximum File Size

Set Maximum File Size in megabytes (MB) per file. For example, enter 5 to limit each file to 5 MB. If a visitor tries to upload a larger file, they see an inline error message immediately — before the form is submitted.

Leave the size field empty to use your server’s default upload limit. Note that your hosting provider’s PHP upload limits still apply as a hard ceiling regardless of your form setting.

Server-Side Validation

File type and size checks run on both the browser and the server. Even if someone bypasses client-side validation, the server rejects files that do not match your allowed types or exceed the size limit. MIME type checking verifies the actual file content, not just the file extension.

Allow Multiple File Uploads

Some forms need a single file — a resume, a profile photo, one PDF. Others need several — supporting documents, a portfolio, or multiple images.

Enable Allow Multiple Files in the File Upload Options. When drag and drop is also enabled, the upload area displays “Drop files here or click to browse” and visitors can Ctrl+click to select multiple files from the browser dialog.

With multiple files enabled, two additional settings appear:

  • Minimum Files — require at least a certain number of uploads (e.g., minimum 2 documents)
  • Maximum Files — cap the total number of files (e.g., maximum 5 attachments)

Duplicate files (same name and size) are automatically skipped in multiple-file mode. Each selected file appears in a list below the upload area with a remove button, so visitors can review and adjust their selection before submitting.

File Previews and Auto-Upload

Show File Previews

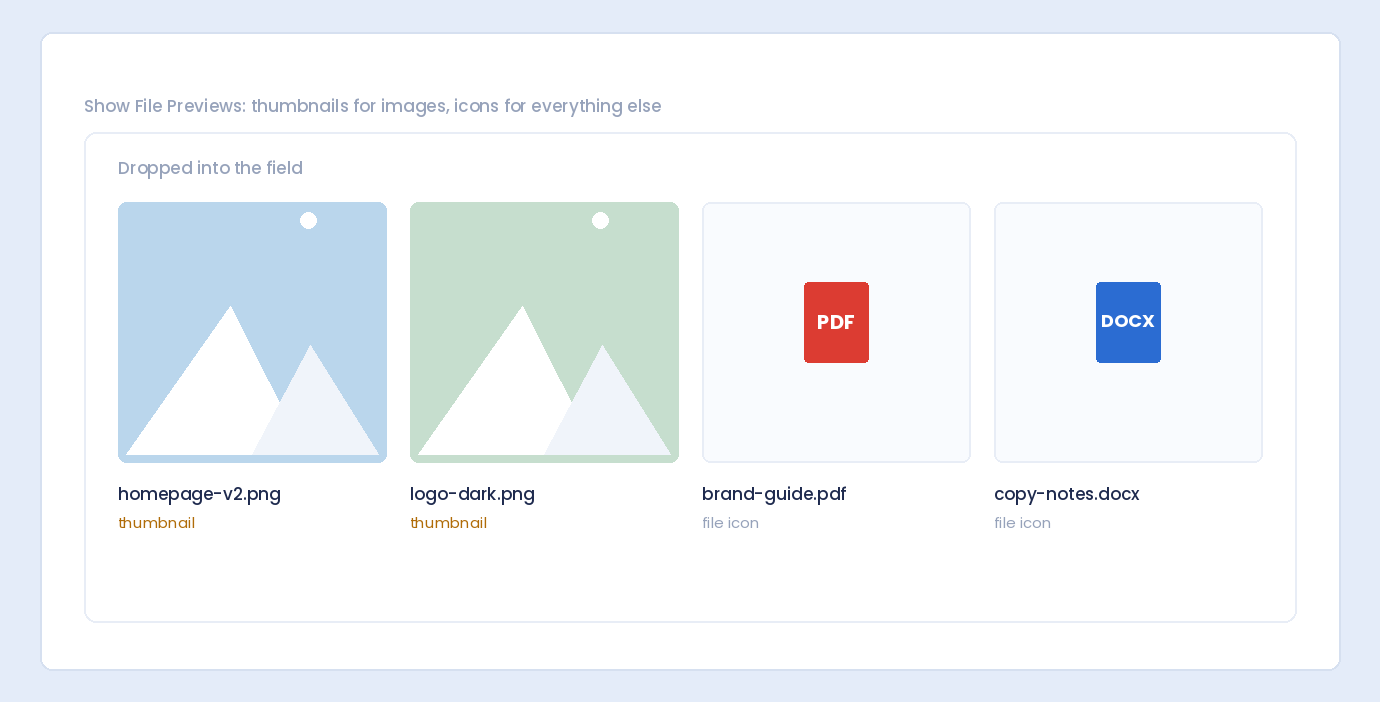
Enable Show File Previews to display visual confirmation of selected files:

  • Images — thumbnail previews so visitors confirm they selected the right photo
  • Other file types — file-type icons with the filename and extension label

Previews appear in a list below the upload area. Each file has a remove button so visitors can swap files without refreshing the page.

Auto-Upload on Selection

Enable Auto-upload on Selection to start uploading files immediately when they are selected or dropped — instead of waiting until the visitor clicks Submit.

Auto-upload uses AJAX with a progress bar for each file. Visitors see the upload percentage in real time. This is especially useful for large files or slow connections, because the upload completes before the rest of the form is filled out.

When the visitor submits the form, the already-uploaded files are linked to the submission automatically. The form will not submit until all pending uploads are complete.

Common Use Cases

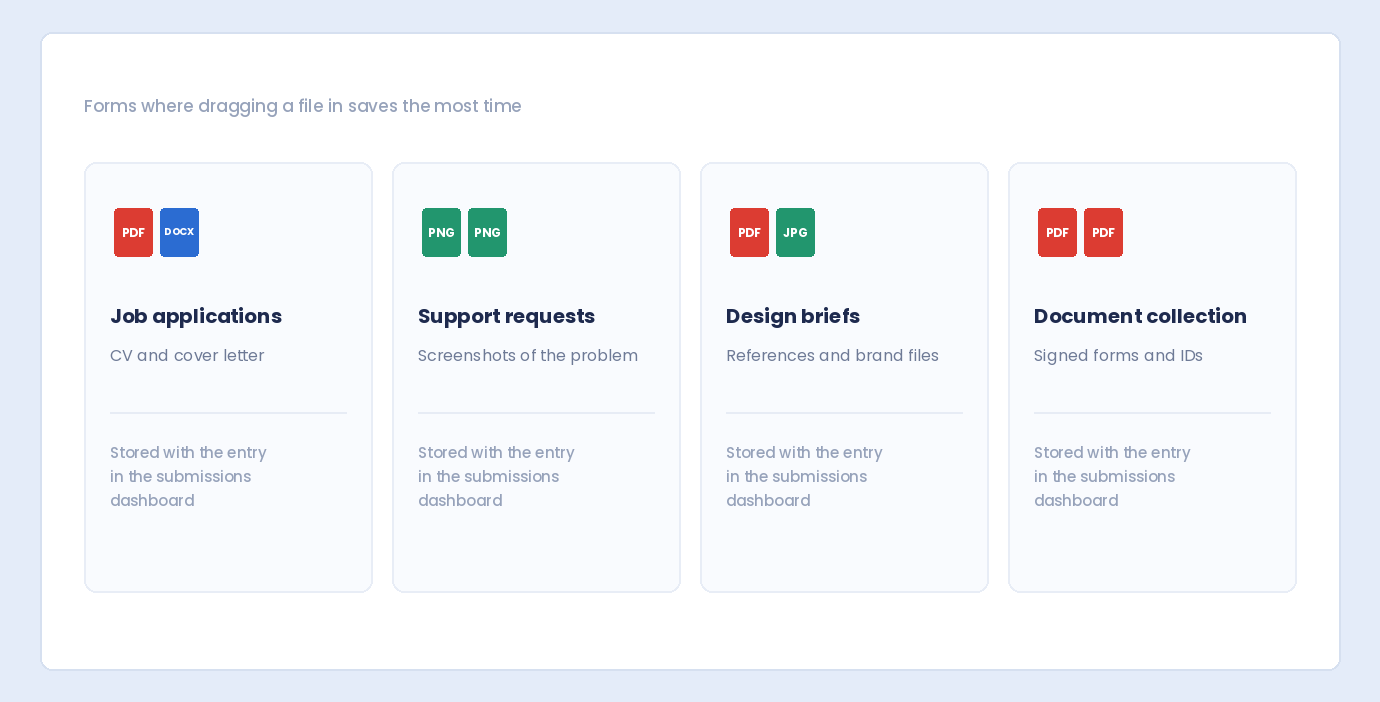
Job Application Form

  • Enable Drag & Drop: ON
  • Allowed types: Documents (PDF, DOC, DOCX)
  • Maximum File Size: 5 MB
  • Allow Multiple Files: OFF
  • Upload Button Text: “Upload Resume”

Support Ticket with Screenshots

  • Enable Drag & Drop: ON
  • Allowed types: Images + Documents
  • Maximum File Size: 10 MB
  • Allow Multiple Files: ON (max 3 files)
  • Show File Previews: ON

Photo Contest Entry

  • Enable Drag & Drop: ON
  • Allowed types: Images only
  • Custom extensions: .jpg, .png
  • Maximum File Size: 20 MB
  • Show File Previews: ON
  • Auto-upload on Selection: ON

Document Collection Form

  • Enable Drag & Drop: ON
  • Allowed types: Documents + Spreadsheets + Archives
  • Allow Multiple Files: ON (min 1, max 10)
  • Maximum File Size: 25 MB

View and Download Uploaded Files

Every uploaded file is stored securely with the form submission. To access them:

  1. Go to Auto Form Builder → Submissions
  2. Click the submission to open the entry detail page
  3. Uploaded files appear in the field data with download links

Image files display as previews in the entry view. Document and archive files show as downloadable attachments. File uploads are included in admin notification emails and can be referenced in user confirmation emails through the {submission_data} placeholder.

Search submissions by filename or visitor details using the Submissions search bar. Export entry data from Settings → Import/Export for backup or reporting.

Uploaded files also work on embedded forms placed on external websites via the embed code — the same drag-and-drop interface and file storage apply regardless of where the form is displayed.

Security and Validation

File uploads are a common attack vector. Auto Form Builder includes several security measures:

  • MIME type validation — the server checks actual file content, not just the extension
  • Extension allowlisting — only file types you explicitly permit are accepted
  • Size limits — enforced on both client and server
  • SVG excluded — SVG files are not permitted in image uploads due to XSS risks
  • Server-side upload handler — files are processed through WordPress’s secure upload mechanism with nonce verification
  • Empty file rejection — zero-byte files are rejected immediately

Configure restrictions that match your use case. A resume upload form should accept only PDF and DOC files — not images, archives, or executables. Tighter restrictions mean a smaller attack surface.

Best Practices for File Upload Forms

  1. Enable drag and drop for desktop users. It is the single biggest UX improvement over the default file input.
  2. Set a clear maximum file size. Display the limit in the upload area so visitors know before they select a file.
  3. Restrict file types to what you actually need. A resume form does not need to accept ZIP or video files.
  4. Use help text. Add a line below the field: “PDF or Word document, max 5 MB” to set expectations.
  5. Enable previews for image uploads. Let visitors confirm they selected the correct photo before submitting.
  6. Use auto-upload for large files. Start the upload while the visitor fills out other fields to reduce wait time on submit.
  7. Test on mobile. Tap the upload area on a phone to confirm the native file picker opens correctly.
  8. Check your server upload limits. If your host caps uploads at 2 MB, setting a 10 MB form limit will not work until you increase the server limit.
  9. Combine with spam protection. File upload forms attract bots. Enable Google reCAPTCHA or Cloudflare Turnstile from the Add-Ons page.

Frequently Asked Questions

How do I enable drag-and-drop file uploads in WordPress?

Install Auto Form Builder, add a File Upload field to your form, and check Enable Drag & Drop in the File Upload Options settings. Save the form and publish it. Visitors can then drag files onto the upload area or click to browse.

Is the file upload field free in Auto Form Builder?

Yes. The File Upload field with drag-and-drop support, file type restrictions, size limits, multiple file uploads, previews, and auto-upload is included in the free plugin.

Can visitors upload multiple files at once?

Yes. Enable Allow Multiple Files in the field settings. Set minimum and maximum file counts to control how many attachments are required or permitted. Visitors can drag multiple files at once or Ctrl+click to select several in the file browser.

What file types can I allow?

Auto Form Builder supports images (JPG, PNG, GIF, WebP), documents (PDF, DOC, DOCX, TXT), spreadsheets (XLS, XLSX, CSV), presentations (PPT, PPTX), archives (ZIP, RAR, 7Z), audio, and video. You can also specify custom file extensions like .jpg, .pdf, or .docx.

Is there a file size limit?

You set the per-file size limit in megabytes in the field settings. The server also enforces your hosting provider’s PHP upload limit as a maximum ceiling. Visitors see an error immediately if their file exceeds the limit.

Can I see uploaded files in the WordPress dashboard?

Yes. Every uploaded file is attached to its submission. Open any entry in Auto Form Builder → Submissions to view, preview, or download the files directly from the entry detail page.

Does drag-and-drop work on mobile?

Drag and drop is primarily a desktop feature. On mobile, the upload area acts as a large tap target that opens the native file picker — photos, documents, or camera depending on the device. The same upload area and file restrictions apply on all devices.

Do file uploads work on embedded forms?

Yes. Forms embedded on external websites via the embed code support file uploads with the same drag-and-drop interface, restrictions, and submission storage as forms on your WordPress site.

Build forms that embed anywhere — free

Auto Form Builder lets you create multi-step forms, calculators, and lead capture forms in WordPress, then embed them on any site with a single line of code.

Install the free plugin

Add Drag-and-Drop Uploads to Your Forms Today

Stop relying on the browser’s default file input. Auto Form Builder gives you a modern drag-and-drop upload field with file type restrictions, size limits, previews, progress bars, and secure storage — all free, all configurable from the visual form builder.

Install Auto Form Builder from WordPress.org and add your first file upload field in minutes. Or try the live demo to test drag-and-drop uploads on your device.

Leave a Reply

Your email address will not be published. Required fields are marked *