
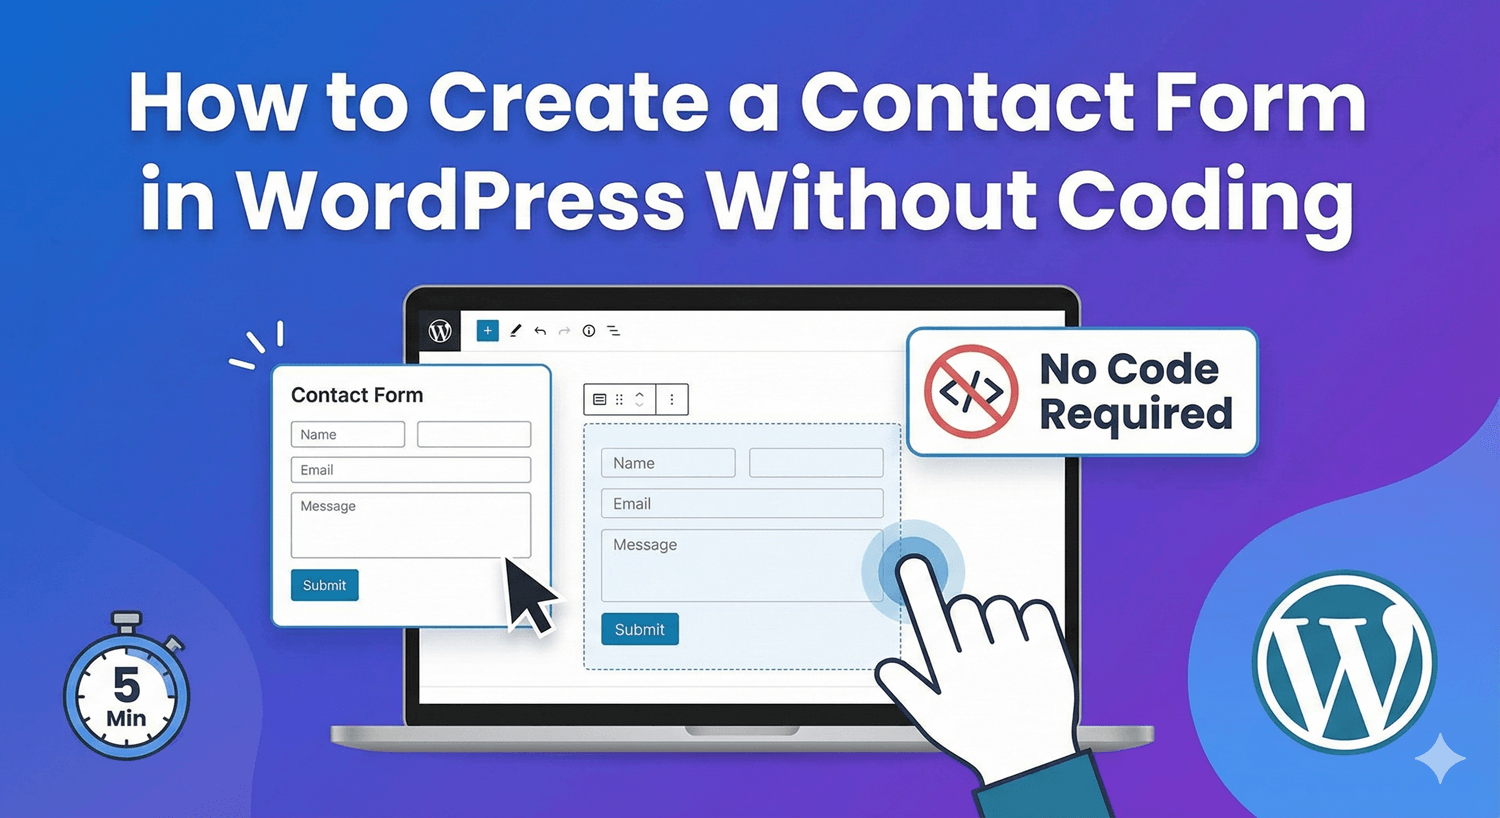
Want to add a contact form to your WordPress website but don’t know how to code? You’re in the right place. In this step-by-step guide, you’ll learn how to create a professional contact form in WordPress without writing a single line of code—and it takes less than 5 minutes. Whether you’re a blogger, small business owner, or building your first website, having a contact form is essential. It lets visitors reach you easily, helps you capture leads, and looks far more professional than simply posting your email address. Before we dive into the tutorial, let’s understand why a contact form matters: To follow this tutorial, you’ll need: That’s it! No coding knowledge, no technical experience, no paid tools required. We’ll use Auto Form Builder (also known as AFB)—a free, lightweight WordPress plugin with a visual drag-and-drop interface. It’s perfect for beginners because there’s zero learning curve. Here’s how to install it: 💡 Tip: Searching for “AFB” is the quickest way to find the plugin in the WordPress repository. Once activated, you’ll see “Auto Form Builder” in your WordPress admin menu. That’s it—you’re ready to create your first form! Now let’s build your contact form: Auto Form Builder comes with a pre-built contact form template that includes: The template is ready to use immediately, but you can customize it however you like. Want to add or modify fields? The drag-and-drop builder makes it simple: On the left sidebar, you’ll see available field types. Simply drag any field onto your form canvas: Click any field to customize it: Simply drag fields up or down to change their order. The visual builder shows exactly how your form will look. Click the Settings tab to configure what happens when someone submits your form: Customize the message users see after submitting. For example: “Thank you for contacting us! We’ll get back to you within 24 hours.” Get notified instantly when someone fills out your form: Every submission will be sent directly to your inbox—and also stored safely in your WordPress dashboard. Want your form to match your website’s design? Click the Customize tab to customize: Auto Form Builder forms are designed to look great on any theme out of the box, so styling is completely optional. Once you’re happy with your form: Now let’s display your form on your website: Visit your page to see your beautiful new contact form in action! Before announcing your new form to the world, test it: If everything works, congratulations—your contact form is live! One of the best features of Auto Form Builder is the built-in submission management. Unlike some form plugins that only send emails, every submission is stored in your WordPress database. Go to Auto Form Builder → Submissions to: This means you’ll never lose a customer inquiry, even if emails fail to deliver. There are many WordPress form plugins available, but here’s why Auto Form Builder stands out for creating contact forms: Yes. Auto Form Builder is designed to work with any WordPress theme. Absolutely. Enable email notifications in the form settings, and you’ll receive an email every time someone submits your form. Submissions are also stored in your WordPress dashboard as a backup. Yes. All forms created with Auto Form Builder are fully responsive and look great on phones, tablets, and desktop computers. Auto Form Builder offers spam protection add-ons, including Google reCAPTCHA and Cloudflare Turnstile. Now that you have a contact form on your WordPress website, consider these enhancements: Creating a contact form in WordPress doesn’t require any coding skills. With Auto Form Builder, you can build a professional, mobile-responsive contact form in under 5 minutes—completely free. The drag-and-drop interface makes it easy for beginners, while the built-in submission management ensures you never miss a customer inquiry. Plus, all your data stays securely on your own WordPress server. Ready to create your contact form? Download Auto Form Builder from the WordPress plugin repository and get started today.How to Create a Contact Form in WordPress Without Coding
Why Every WordPress Website Needs a Contact Form
What You’ll Need
Step 1: Install Auto Form Builder (Free Plugin)
Step 2: Create a New Contact Form
Step 3: Customize Your Form Fields (Optional)
Adding New Fields
Editing Field Settings
Reordering Fields
Step 4: Configure Form Settings
Success Message
Email Notifications
Step 5: Style Your Form (Optional)
Step 6: Save and Get Your Shortcode
Step 7: Add the Contact Form to Your Page
Option A: Add to an Existing Page
Option B: Create a New Contact Page
Step 8: Test Your Contact Form
Managing Contact Form Submissions
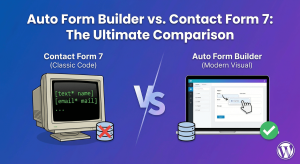
Why Auto Form Builder is Perfect for Contact Forms
Feature
Auto Form Builder
Price
✅ Free
Drag-and-drop builder
✅ Yes
Pre-built contact form template
✅ Yes
Email notifications
✅ Yes
Submission storage
✅ Yes (in WordPress)
Mobile responsive
✅ Yes
No coding required
✅ Yes
Lightweight & fast
✅ Yes
GDPR compliant (data on your server)
✅ Yes
Export submissions
✅ CSV, JSON, XML
Conditional Logic
✅ Yes
Frequently Asked Questions
Will the form work with my WordPress theme?
Can I receive form submissions by email?
Is the contact form mobile-friendly?
How do I protect my form from spam?
Next Steps
Conclusion

Learn how to bulk delete form submissions in WordPress. Remove multiple entries at once to clean up spam, test data, and old submissions efficiently.

Master WordPress form submission management. Learn to view, filter, search, star, export, and organize form entries like a pro with this complete guide.

Learn how to search and find form submissions in WordPress. Filter by date, form, status, and search across all submission data.
Comparing Auto Form Builder and Contact Form 7 for WordPress. See which form plugin offers better ease of use, features, and value for your website.

Learn how to view, organize, search, filter, and export your WordPress form submissions. Complete guide to submission management.

Learn why storing form data on your own server helps with GDPR compliance. Choose form plugins that keep your user data local and under your control.

Learn how to filter WordPress form submissions by date. Find entries from specific time periods quickly using date range filters.

Learn how to bulk edit, delete, and manage form submissions in WordPress. Save time with mass actions on multiple entries at once.

Learn how to restrict date fields to future dates only for event registration forms. Block past dates and set booking windows in WordPress.

Learn how to create quantity fields in WordPress forms. Collect numbers for guests, items, tickets, and more with proper validation and limits.

Learn how to star and flag important form submissions in WordPress. Prioritize leads, mark urgent requests, and organize your form entries effectively.

Learn how to set up email notifications for your WordPress forms so you never miss a submission. Step-by-step guide with Auto Form Builder.