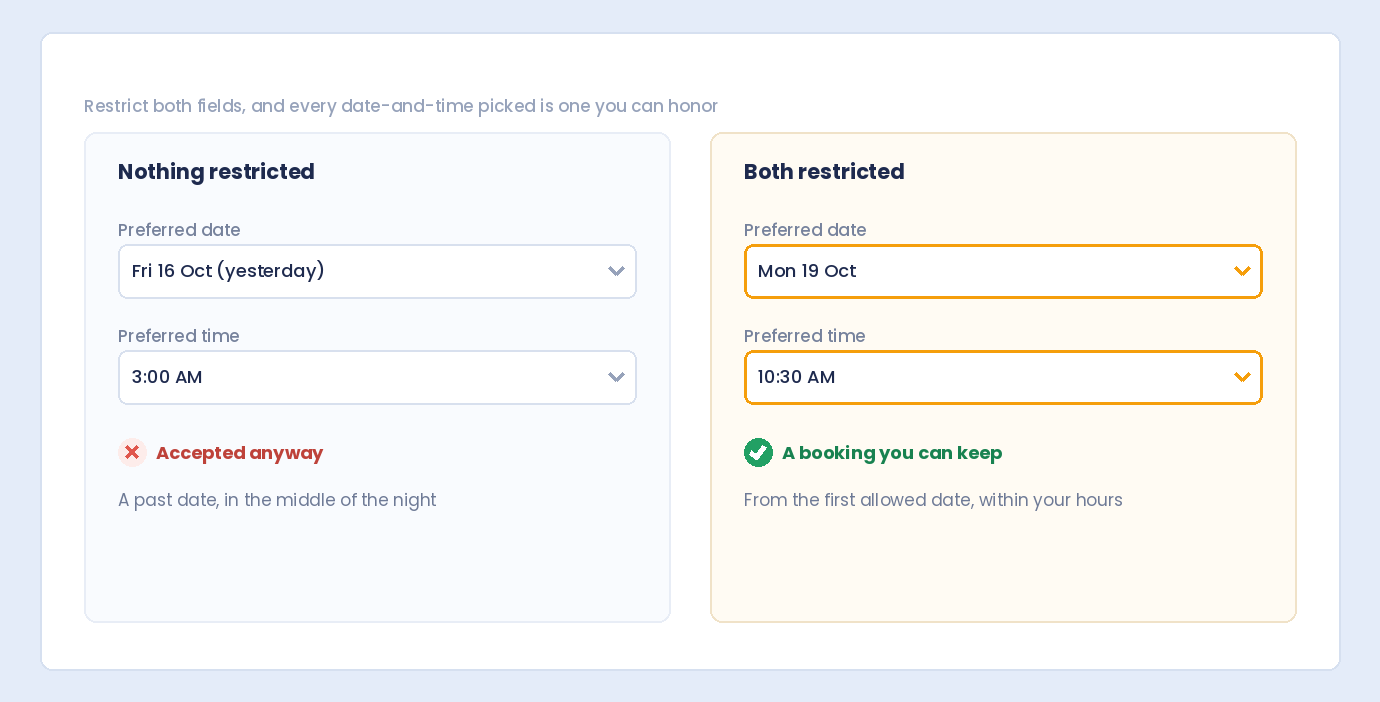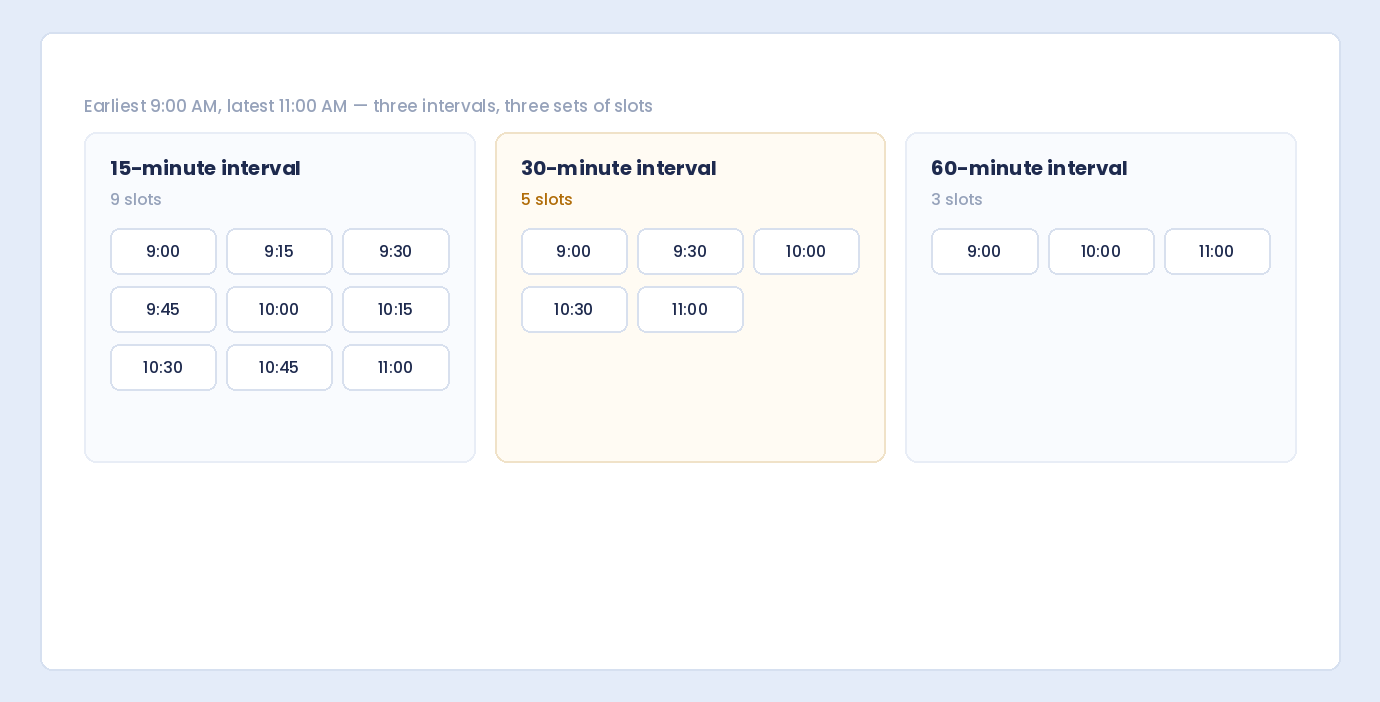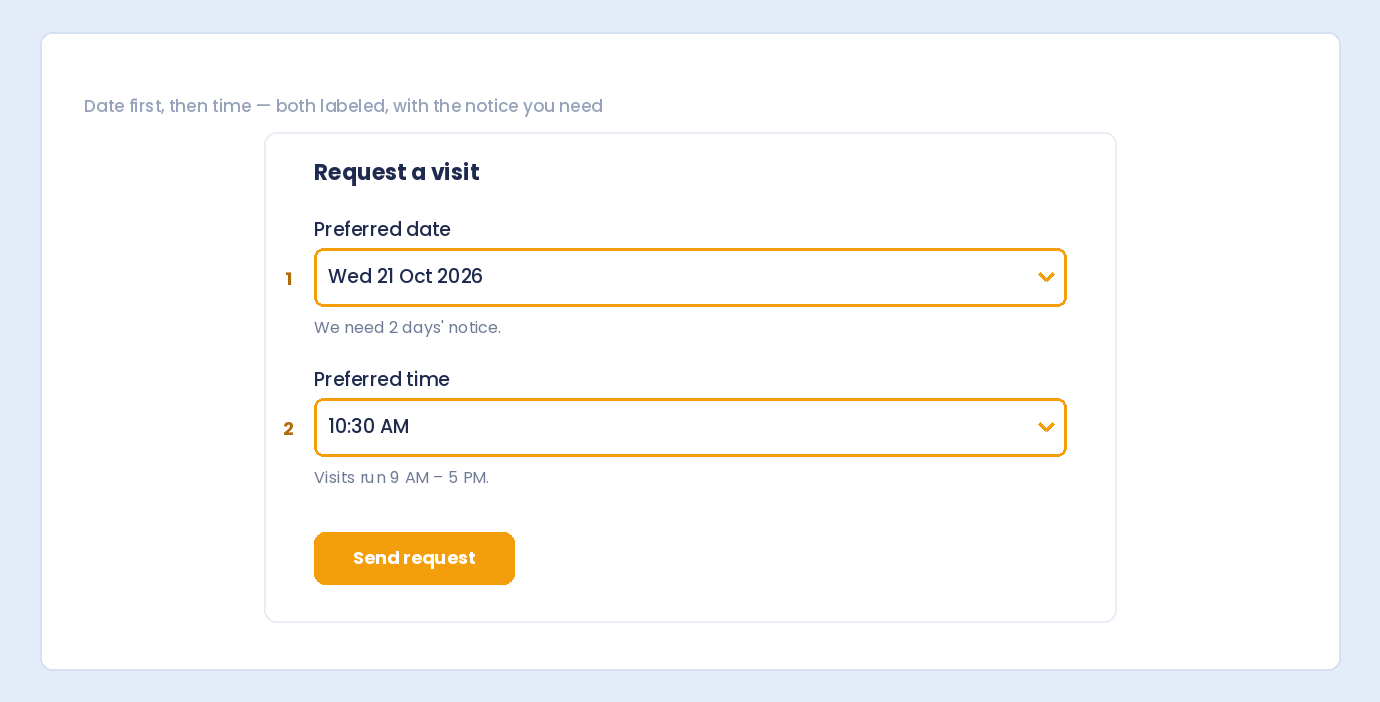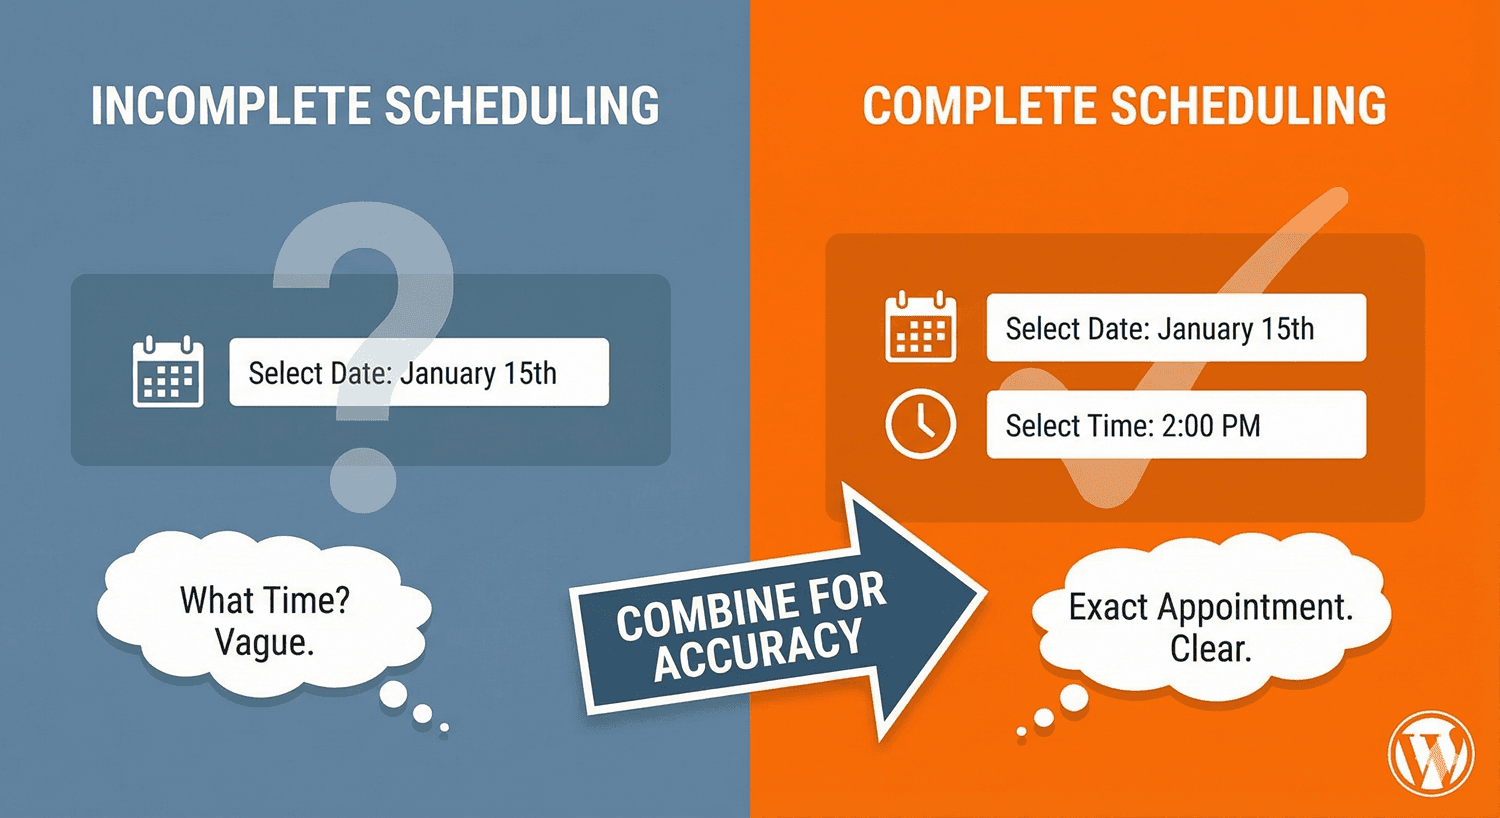
Appointment requests, event registrations, consultation bookings, and service scheduling all need the same thing: a reliable way to capture when something should happen. A date alone is not enough if you also need a time slot. A time alone is meaningless without the day it applies to. Auto Form Builder gives you dedicated Date and Time field types you combine on the same form to build complete scheduling workflows. Restrict selectable dates, limit times to business hours, set appointment intervals, and validate everything on submission — no custom code, no calendar plugin dependency, and no paid add-on. Last updated: Last update 11 August Scheduling forms need control over both the calendar day and the clock time. Using two focused fields instead of one generic text input gives you: Auto Form Builder does not use a single combined “datetime” field. You add one Date field and one Time field, configure each independently, and both values appear together in your submissions inbox and email notifications. The Date field uses an HTML5 date input with a formatted overlay and optional preview chip. Configure it under Date Field Options: Choose how dates appear to visitors: The configured format is respected in the dashboard, admin emails, and user confirmation emails. Pre-select a starting date when the form loads: None (blank), Today’s date, Tomorrow’s date, or a Specific date you choose. Optionally show a human-readable preview (e.g., Apr 16, 2026) next to the date input. Disable the preview chip if you prefer a minimal layout. The Time field uses a custom dropdown time picker — not the native browser time input — for consistent styling and precise control. Configure it under Time Field Options: Control appointment slot spacing: Only times matching your interval appear in the dropdown — ideal for booking slots at fixed increments. The time picker generates options only within this range. Pre-select a starting time: None (blank), Current time (when the form loads), or a Specific time you choose. Visitors can clear a selected time and start over using the built-in clear control on the time picker. Go to Auto Form Builder → All Forms and create a new form or open an existing one. You can start from the Event Registration template and add date/time fields to it. Include the basics: Name, Email, and Phone fields so you can follow up on the booking. Drag a Date field onto the canvas. Label it clearly — Preferred Date, Appointment Date, or Event Date. Under Date Field Options: Drag a Time field below or beside the date field. Label it Preferred Time or Appointment Time. Under Time Field Options: Select each field and set Field Width to Half Width so date and time appear on the same row on wider screens. On mobile, they stack automatically. Enable Required Field on both the date and time fields so submissions always include a complete scheduling selection. Add a textarea for special requests or notes. Save the form, preview on desktop and mobile, submit a test booking, and verify both date and time appear correctly in your submissions inbox. Auto Form Builder validates date and time fields on both the frontend and the server. Server-side checks enforce: On the frontend, the date picker also adjusts weekend selections to the next Monday when No Weekend Selection is enabled. The custom time picker only lists times within your configured interval and min/max range, so visitors cannot pick invalid slots from the dropdown. The server validates that submitted time values are in a valid time format. Both fields support standard required validation. Empty date or time fields block submission with an inline error message. Use free conditional logic to adapt the form based on scheduling choices: Both date and time fields dispatch change events, so conditional rules re-evaluate as soon as the visitor makes a selection. In email notifications, date values appear in your configured format. Use field placeholders in custom email templates (e.g., Date and time are stored as separate submission values with their own field labels. In the submissions inbox: You can search and filter submissions by date using the submissions page date filter. Export entries via Settings → Import/Export to back up scheduling data in CSV or JSON format. Forms embedded on non-WordPress sites — including Elementor, WP Bakery, Brizy pages, or any external website — use the same date picker, custom time dropdown, validation rules, and layout options. Your date restrictions, business hours, and time intervals apply wherever the form is placed. Date and time fields with scheduling restrictions, custom intervals, validation, and conditional logic are included in the free plugin — the same plugin that gives you submission management, form styling, spam protection, and import/export at no cost. Install it from the official WordPress.org directory: https://wordpress.org/plugins/auto-form-builder/ Last updated: Last update 11 August Auto Form Builder lets you create multi-step forms, calculators, and lead capture forms in WordPress, then embed them on any site with a single line of code. Add a Date field and a Time field separately in Auto Form Builder. Configure date restrictions under Date Field Options and business hours under Time Field Options. Set both to Half Width to display them side by side. No. Auto Form Builder uses separate Date and Time field types. Add both to the same form and configure each independently for full control over calendar and clock restrictions. Yes. Enable Block Past Dates and No Weekend Selection on the Date field. You can also set First Allowed Date and Last Allowed Date for a specific booking window. On the Time field, set Earliest Time Allowed and Latest Time Allowed under Time Field Options. The custom time picker only shows slots within that range. Yes. Use the Time Intervals setting on the Time field. Choose from every minute, 5, 10, 15, 30 minutes, or every hour. Only matching times appear in the dropdown. Yes. Set Time Format to 12-hour clock with AM/PM on the Time field. The dropdown displays times like 2:30 PM while storing the value in 24-hour format internally. Yes. Both Date and Time fields trigger conditional logic when their values change. Show or hide follow-up fields based on the selected date, time, or other form answers. Yes. Date and time fields with all scheduling options are included in the free Auto Form Builder plugin available on WordPress.org.Combining Date and Time Fields for Complete Scheduling Forms
Why Combine Separate Date and Time Fields?
Date Field Features for Scheduling
Date Display Format
Date Range Restrictions
Default Date Selection
Date Preview Chip
Time Field Features for Scheduling
Time Format
Time Intervals
Business Hours Restrictions
Default Time Selection
Clear Button
How to Build a Scheduling Form Step by Step
Step 1: Open the Form Builder
Step 2: Add Contact Fields
Step 3: Add a Date Field
Step 4: Add a Time Field
Step 5: Place Date and Time Side by Side
Step 6: Mark Both Fields as Required
Step 7: Add Context Fields and Save
Validation: Keeping Scheduling Data Clean
Date Validation
Time Validation
Required Field Enforcement
Scheduling Form Examples
Consultation Booking
Event Registration
Service Appointment
Delivery Scheduling
Combine with Conditional Logic and Notifications
{preferred_date}, {preferred_time}) to include scheduling details in admin and confirmation emails.How Date and Time Appear in Submissions
Scheduling Forms on Embedded Sites
Download Auto Form Builder — Free Date and Time Fields
Build forms that embed anywhere — free
Frequently Asked Questions
How do I add date and time to a WordPress scheduling form?
Is there a single combined datetime field?
Can I block past dates and weekends on scheduling forms?
How do I restrict time selection to business hours?
Can I set appointment intervals like every 15 or 30 minutes?
Can I use 12-hour time with AM/PM?
Does conditional logic work with date and time fields?
Are date and time fields free in Auto Form Builder?
Table of Contents
Table of Contents
Learn how to bulk delete form submissions in WordPress. Remove multiple entries at once to clean up spam, test data, and old submissions efficiently.
Master WordPress form submission management. Learn to view, filter, search, star, export, and organize form entries like a pro with this complete guide.
Learn how to search and find form submissions in WordPress. Filter by date, form, status, and search across all submission data.
Comparing Auto Form Builder and Contact Form 7 for WordPress. See which form plugin offers better ease of use, features, and value for your website.
Learn how to view, organize, search, filter, and export your WordPress form submissions. Complete guide to submission management.
Learn why storing form data on your own server helps with GDPR compliance. Choose form plugins that keep your user data local and under your control.
Learn how to filter WordPress form submissions by date. Find entries from specific time periods quickly using date range filters.
Learn how to bulk edit, delete, and manage form submissions in WordPress. Save time with mass actions on multiple entries at once.
Learn how to restrict date fields to future dates only for event registration forms. Block past dates and set booking windows in WordPress.
Learn how to create quantity fields in WordPress forms. Collect numbers for guests, items, tickets, and more with proper validation and limits.
Learn how to star and flag important form submissions in WordPress. Prioritize leads, mark urgent requests, and organize your form entries effectively.
Learn how to set up email notifications for your WordPress forms so you never miss a submission. Step-by-step guide with Auto Form Builder.