
How to Restrict Email Domains in WordPress Forms
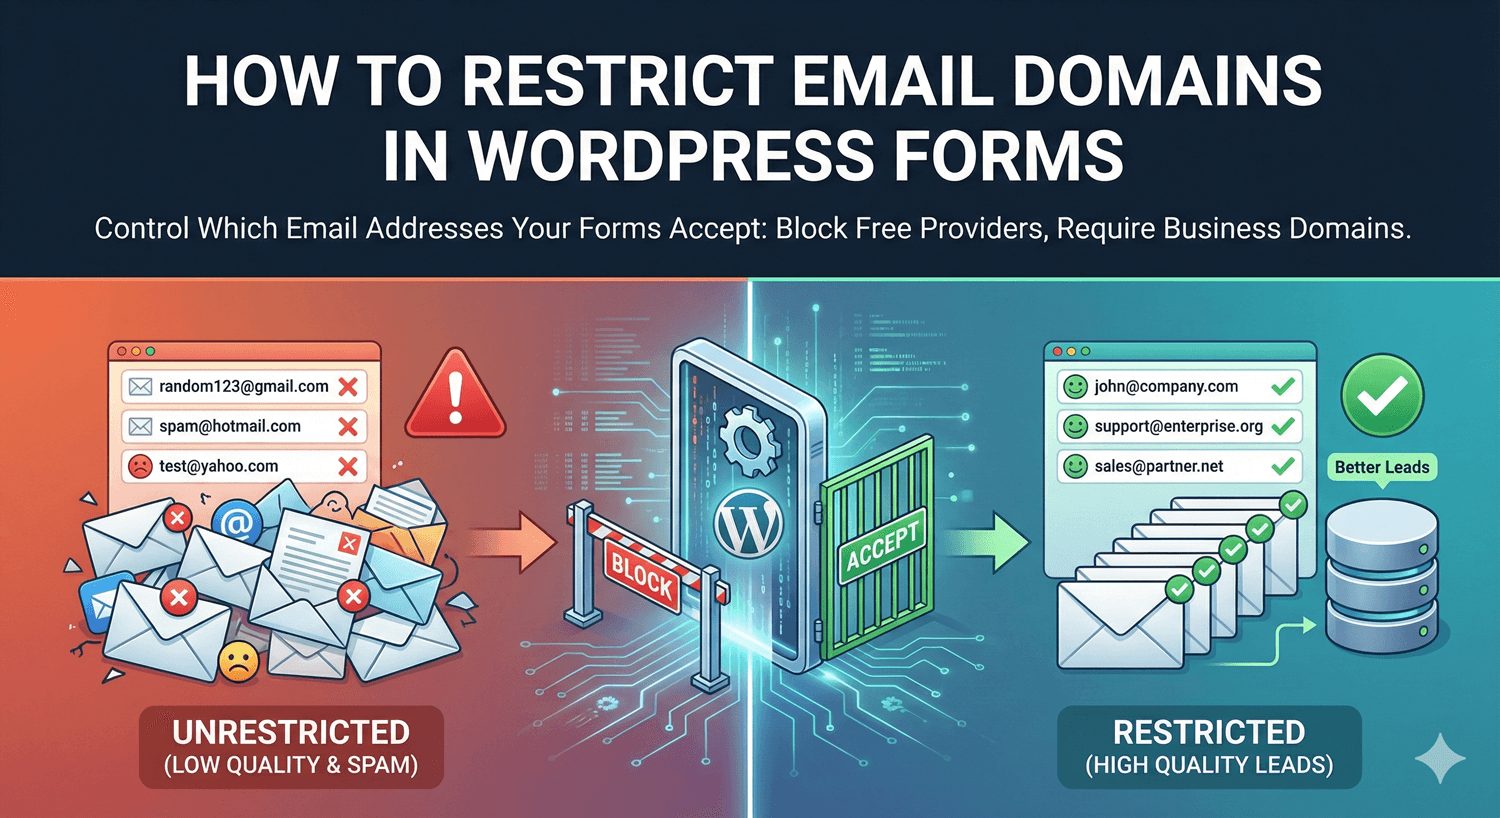
Sometimes any email address won’t do. A B2B form wants work emails, not personal Gmail accounts. An internal tool should only accept your organization’s domain. A partner program needs company addresses. For these, accepting every email address means sorting through off-target signups later. Auto Form Builder’s Email field can restrict which domains it accepts, so only the right addresses get through. Here’s how and when to use it.
Why restrict email domains
Restricting domains is about relevance and quality. If your form is meant for a specific audience — a company, an organization, business contacts — accepting personal or unrelated addresses fills your list with people who aren’t the audience you built the form for. Domain restriction filters at the point of entry, so what you collect is on-target from the start rather than something you have to clean up afterward.
Set allowed domains
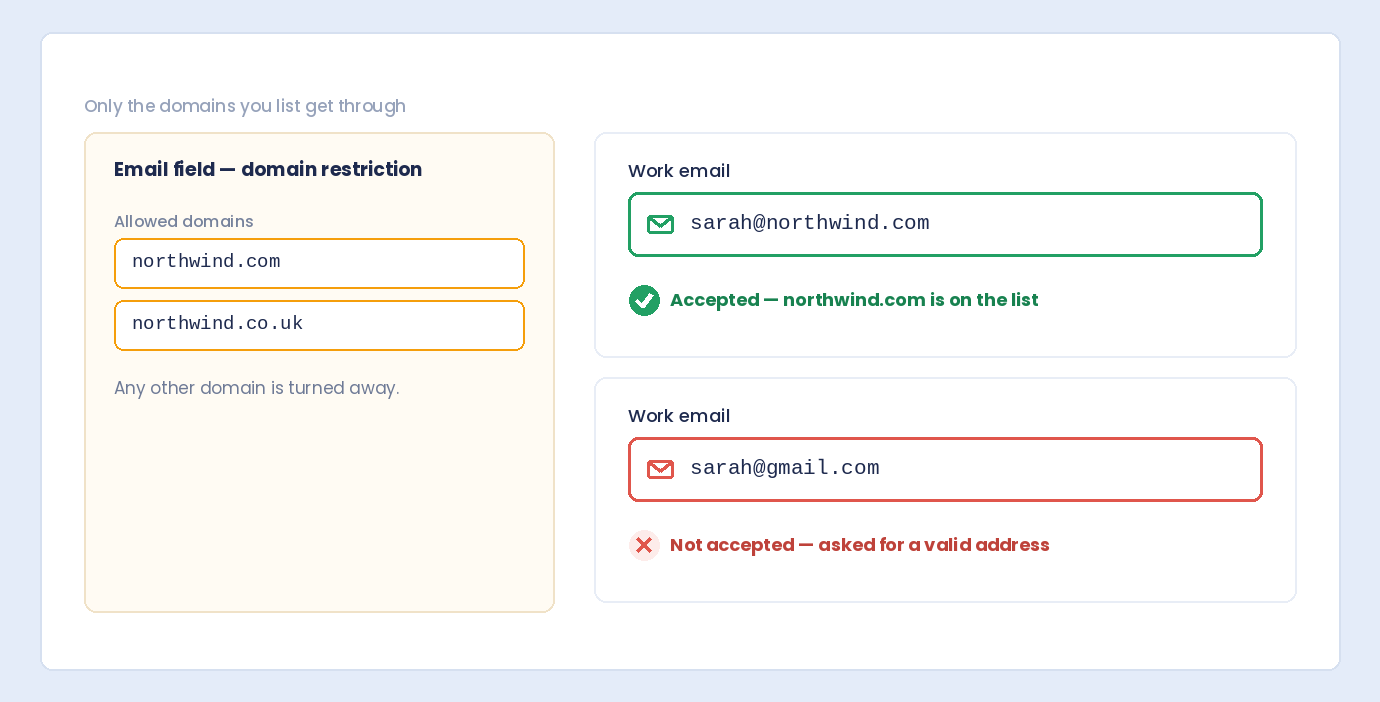
On the Email field’s options, the domain restriction setting lets you specify which domains are acceptable — described in the builder as only accepting email addresses from specific domains, such as company emails. Enter the domains you want to allow, and the field will only accept addresses from them. Someone entering an address from a different domain is prompted to use a valid one, so off-target signups simply can’t get through.
Common use cases
Domain restriction fits a handful of clear scenarios:
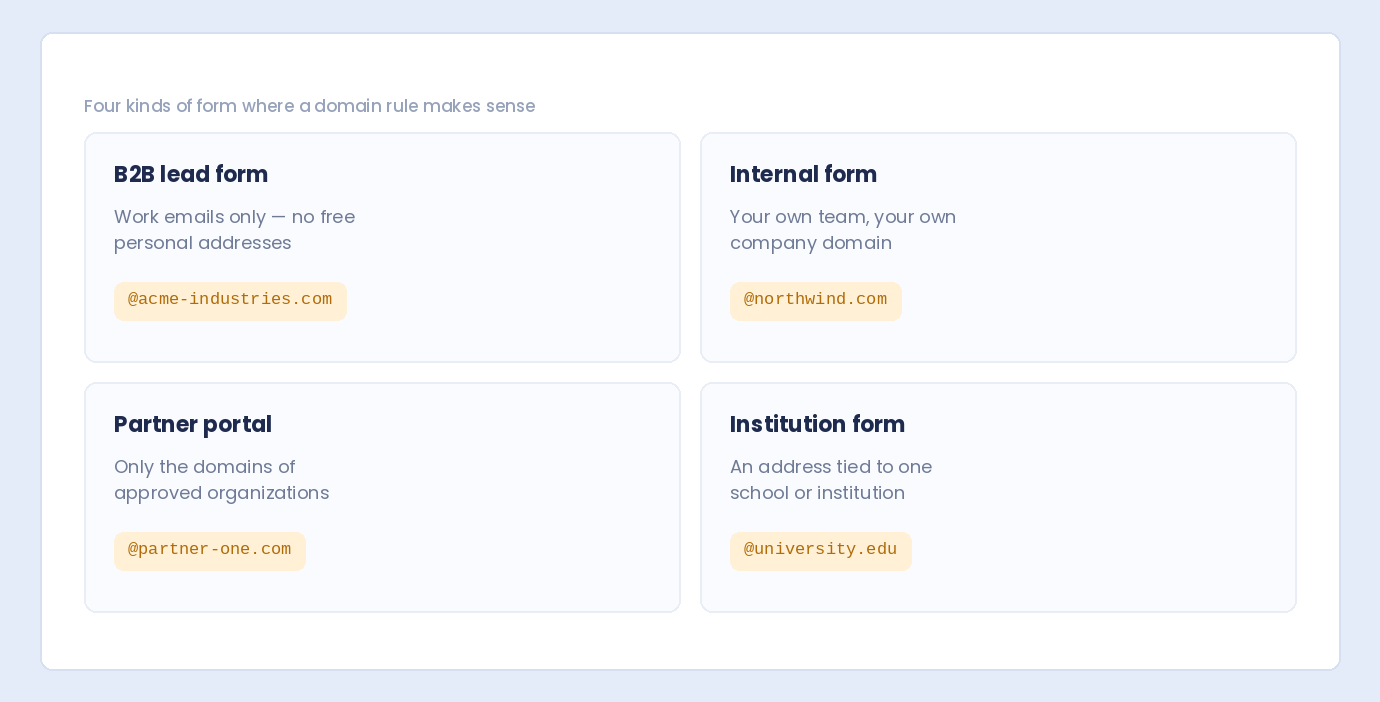
- B2B forms — accept only work emails, filtering out free personal addresses.
- Internal or organizational forms — accept only your company’s domain, so only staff can submit.
- Partner or member programs — restrict to the domains of approved organizations.
- Verification-style forms — ensure people use an address tied to a specific institution.
In each case, the restriction enforces “this form is for a specific audience” automatically.
Pair it with other email safeguards
Domain restriction controls which addresses you accept; combine it with other Email field tools for fully clean data. Add a confirmation field to catch typos (our guide to preventing email typos covers this), and rely on built-in validation to reject malformed addresses. Together — valid format, correct domain, no typos — you get email data you can genuinely trust. Our broader guide to email collection best practices ties these together.
Keep the balance right
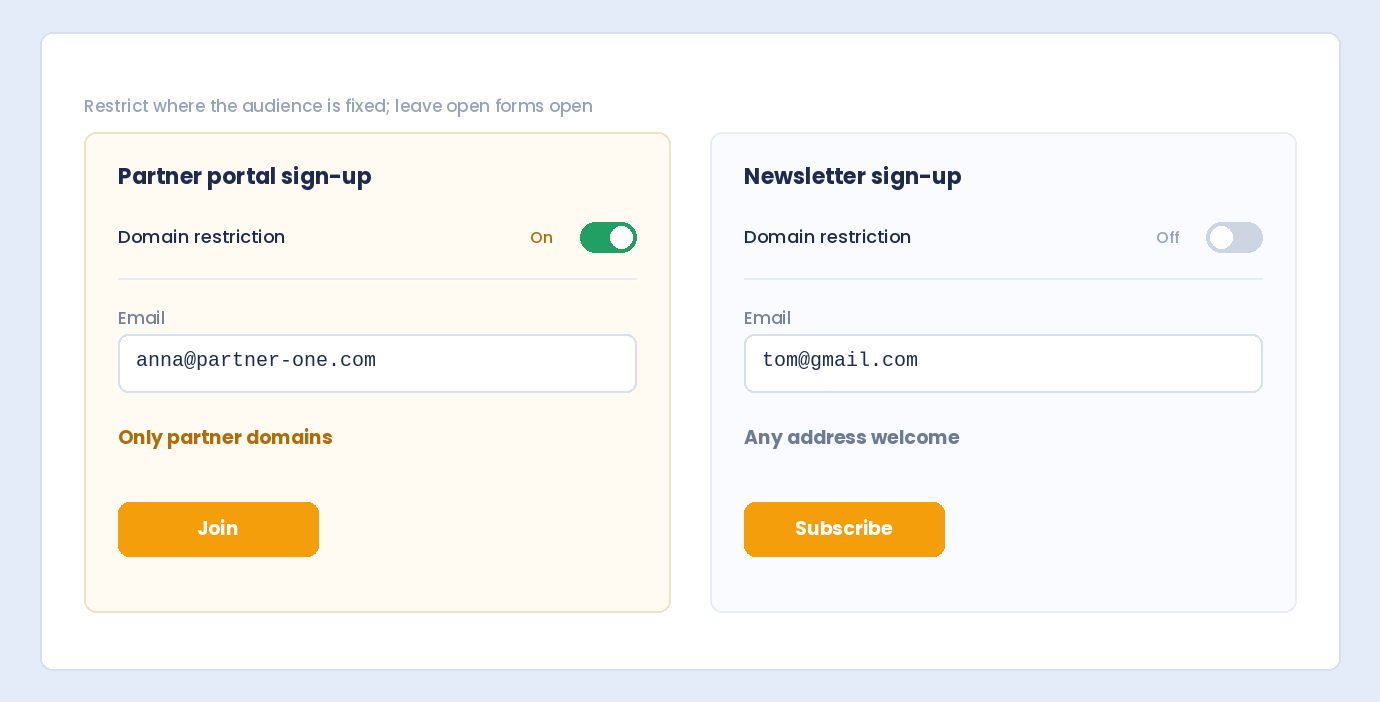
One thing to weigh: domain restriction is exclusionary by design, so use it only when you genuinely want to limit who can submit. On a general contact or newsletter form where any address is welcome, don’t restrict — you’d be turning away legitimate signups. Reserve it for forms where the audience really is meant to be limited to specific domains.
Combine with spam protection
For public forms, domain restriction and spam protection work well together. Spam protection blocks bots; domain restriction ensures the humans who get through are using the right kind of address. It’s also useful alongside user registration, where you might only want accounts created for people with a company email.
Restrict domains when it fits
- Use it for B2B, internal, and organization-specific forms.
- Set the specific domains you want to accept.
- Pair it with confirmation and validation for clean email data.
- Don’t restrict on general forms where any address is welcome.
Domain restriction is a precise tool for keeping your signups on-target — invaluable when your form is for a specific audience, and best left off when it isn’t. It’s built into the free Email field, no code required.
Ready to collect the right email addresses? Install Auto Form Builder free from WordPress.org.
FAQ
Can I only accept emails from certain domains?
Yes. The Email field can restrict allowed domains, so you accept only addresses from the domains you specify — like company emails only.
Why would I restrict email domains?
To keep signups on-target — for B2B forms that want work emails, internal forms for one organization, or to block free/personal addresses where you need a business contact.