Tutorials

Building Professional Forms with Full Name Components

Building Professional Forms with Full Name Components

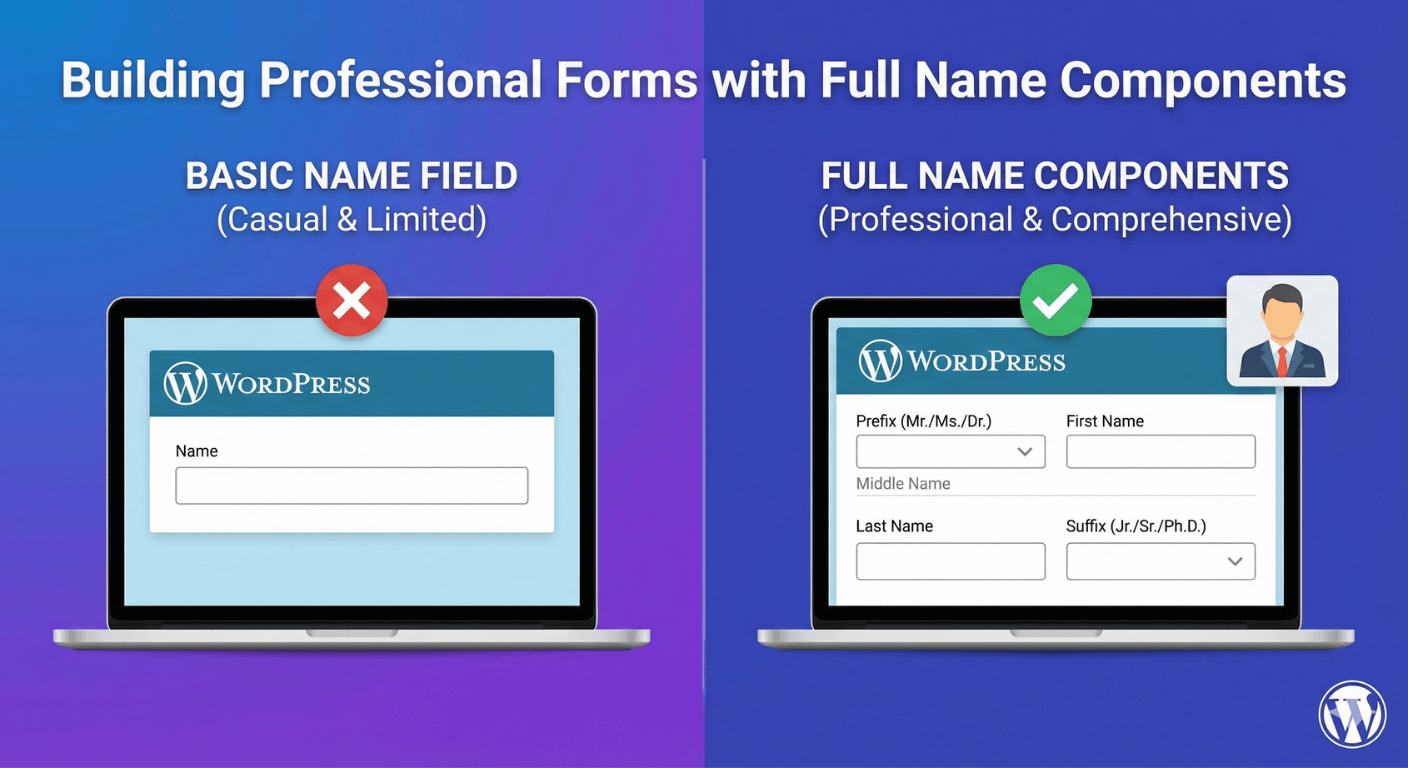
A single “Name” text box works for simple forms, but professional contact, registration, and booking forms need structured name data. Splitting first and last name into separate fields gives you cleaner submissions, better mail merge, and easier integration with CRM tools and user registration workflows.

Auto Form Builder includes a dedicated Name field in the Advanced category with configurable subfields — prefix, first name, middle name, last name, and suffix — plus layout options, per-part required rules, and auto-capitalization. Build professional name collection without custom HTML or PHP.

Last updated: Last update 9 August

Why Use a Dedicated Name Field?

A plain text input stores one undifferentiated string. A structured Name field gives you:

  • Separate first and last name values — stored individually in submissions for sorting, filtering, and personalization
  • Optional name parts — prefix (Mr., Dr.), middle name, and suffix (Jr., PhD) when your form needs them
  • Professional layout — stacked or side-by-side subfields that look polished on desktop and mobile
  • Cleaner data — auto-capitalization and per-part required rules keep name entries consistent

Use a dedicated Name field on contact forms, event registrations, job applications, client intake forms, and any form where how you collect the name matters as much as the name itself.

Single Field vs. Separate Name Components

Under Name Field Options, choose how names are collected:

Single Field (John Smith)

  • One text input for the full name
  • Simple and space-saving — ideal for quick contact forms or informal surveys
  • Supports placeholder text, required validation, help text, and auto-capitalize

Separate Fields (First Name, Last Name, etc.)

  • Multiple labeled inputs for structured name collection
  • First name and last name are always included
  • Optional prefix, middle name, and suffix can be enabled individually
  • Best for professional forms, registrations, and CRM-connected workflows

For professional forms, choose Separate fields mode.

How to Add a Name Field to Your Form

Step 1: Open the Form Builder

In your WordPress admin, go to Auto Form Builder → All Forms, then open an existing form or create a new one.

Step 2: Drag the Name Field

From the field palette, find Name under the Advanced category. Drag it onto the form canvas.

Step 3: Choose Single or Separate Fields

Under How do you want to collect names?, select Separate fields (First name, Last name, etc.) for structured name components.

Step 4: Configure Name Parts and Layout

Enable optional parts (prefix, middle name, suffix), choose stacked or side-by-side layout, set required rules, and customize field labels.

Step 5: Save, Preview, and Publish

Save the form, preview on desktop and mobile, test submission with first and last name filled in, then publish with the shortcode or embed code.

Name Field Settings Explained

Base Field Settings

  • Field Label — the group label shown above the name inputs (e.g., Full Name or Your Name)
  • Field Name — used in submission data and webhooks
  • Field Width — full, half, one third, or two thirds
  • Required Field — makes the name field required as a group
  • Placeholder Text — applies to single-field mode
  • Help Text — guidance below the field
  • Conditional Logic — show or hide the name field based on other answers

Layout

When using separate fields, choose how subfields are arranged:

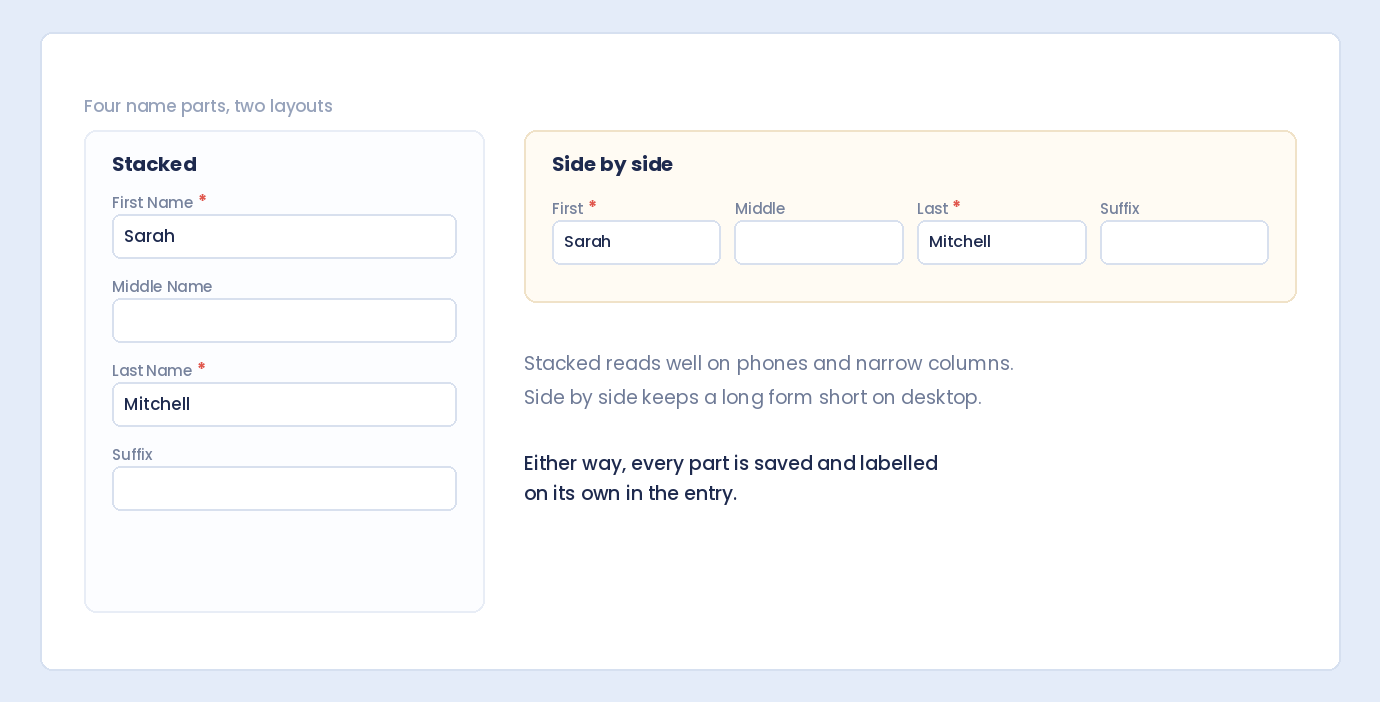
  • Stacked (one per row) — each name part on its own line; best for mobile and narrow layouts
  • Side by Side (two per row) — pairs name parts horizontally; compact and professional on wider screens

Optional Name Parts

First name and last name are always included in separate-fields mode. Enable additional parts as needed:

  • Title/Prefix — dropdown with Mr., Mrs., Ms., Dr., and Prof.
  • Middle Name — text input for middle name or initial
  • Suffix — text input for Jr., Sr., III, PhD, MD, and similar

Required Fields

Control which parts must be filled:

  • First Name Required — first name must be entered
  • Last Name Required — last name must be entered

When the overall field is marked required, first and last name inputs also receive required validation. Use the individual checkboxes when you want finer control — for example, requiring last name but allowing an empty middle name.

Field Labels

Customize the labels shown on first and last name inputs — for example, Given Name and Family Name for international forms, or First Name and Last Name for standard English forms.

Auto-Capitalize Names

Enable Auto-Capitalize Names to format entries on blur — john smith becomes John Smith. Applies to name text inputs (excluding the prefix dropdown). Works in both single-field and separate-fields modes.

What Appears in Submissions

When visitors submit a form with separate name fields, Auto Form Builder stores:

  • First name — as an individual submission value
  • Last name — as an individual submission value
  • Combined full name — first and last name joined together for quick reference

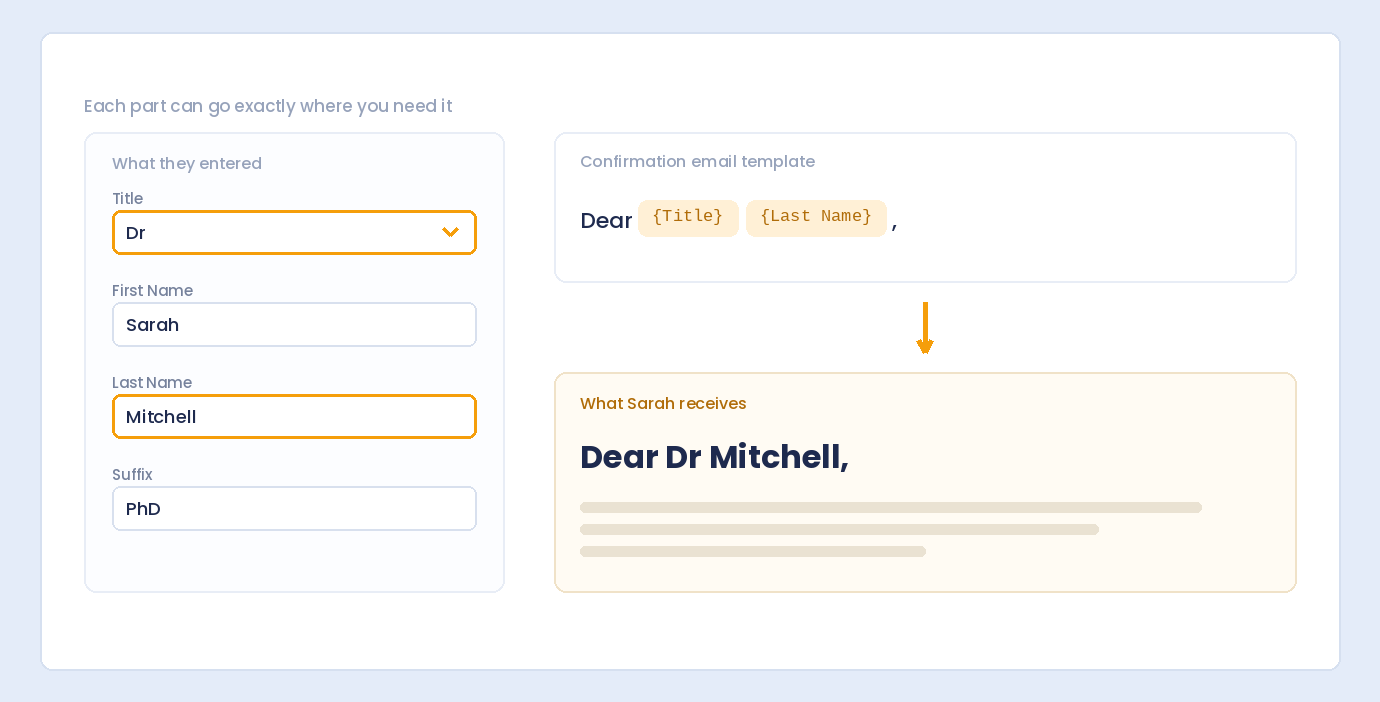
Individual first and last values make it easy to personalize confirmation emails, export to CSV, or map fields to user registration add-ons. The combined value gives you a readable full name at a glance in the submission inbox.

Practical Name Field Examples

Standard Contact Form

  • Mode: Separate fields
  • Layout: Side by side
  • Parts: First name + Last name only
  • Required: First name and last name
  • Auto-Capitalize: Enabled

Professional Services Intake

  • Mode: Separate fields
  • Layout: Stacked
  • Parts: Prefix + First + Last + Suffix
  • Labels: First Name, Last Name
  • Required: First and last name

Event Registration

  • Mode: Separate fields
  • Layout: Side by side
  • Parts: First + Middle + Last
  • Help text: Name must match your ID for check-in

Quick Feedback Form

  • Mode: Single field
  • Placeholder: Your name
  • Required: Yes
  • Auto-Capitalize: Enabled

Name Field vs. Text Input

  • Name field — dedicated type with subfields, prefix dropdown, layout options, per-part required rules, and structured submission storage
  • Text Input — general single-line text; fine for a simple “Your Name” box but no built-in first/last split or prefix handling

Built-in form templates may use a Text Input labeled “Name” for simplicity. Replace it with the dedicated Name field when you need structured name components.

Combine Name Fields with Other Professional Fields

Professional forms typically pair the Name field with other Advanced field types:

  • Email — dedicated email validation and confirmation options
  • Phone — US, UK, or international format with format-as-you-type
  • Address — structured street, city, state, and postal fields

Use conditional logic to show a suffix field only when prefix is set to Dr., or reveal a middle name field when a “Legal name differs from preferred name” checkbox is checked.

Name Fields on Embedded Forms

Forms embedded on non-WordPress sites use the same name field behavior — subfield layout, required validation, auto-capitalize, and structured submission storage. Whether placed via shortcode or embed code, name components work identically everywhere.

Download Auto Form Builder — Free Name Fields

Structured name fields with subfields, layout options, auto-capitalize, and submission storage are included in the free plugin — the same plugin that gives you drag-and-drop form building, submission management, and spam protection at no cost.

Install it from the official WordPress.org directory: https://wordpress.org/plugins/auto-form-builder/

Last updated: Last update 9 August

Build forms that embed anywhere — free

Auto Form Builder lets you create multi-step forms, calculators, and lead capture forms in WordPress, then embed them on any site with a single line of code.

Install the free plugin

Frequently Asked Questions

How do I collect first and last name separately in WordPress forms?

Add a Name field in Auto Form Builder, choose Separate fields mode under Name Field Options, and save. First name and last name inputs appear with individual labels and required settings.

Can I add prefix and suffix to name fields?

Yes. In separate-fields mode, enable Title/Prefix for a dropdown (Mr., Mrs., Ms., Dr., Prof.) and Suffix for a text input (Jr., Sr., III, PhD, etc.).

Can I display first and last name side by side?

Yes. Set Layout to Side by Side (two per row) under Name Field Options when using separate fields mode.

Are first and last names stored separately in submissions?

Yes. Submissions store first name and last name as individual values, plus a combined full name for quick reference.

Can I auto-capitalize names as users type?

Yes. Enable Auto-Capitalize Names under Name Field Options. Names are formatted on blur — for example, john smith becomes John Smith.

Can I require first name but not last name?

Yes. Use the First Name Required and Last Name Required checkboxes under Required Fields to control each part independently.

What is the difference between the Name field and a Text Input?

The Name field supports structured subfields, prefix dropdown, layout options, and separate first/last storage. A Text Input is a single generic text box.

Are name fields free in Auto Form Builder?

Yes. Name fields with all subfield and layout options are included in the free Auto Form Builder plugin on WordPress.org.


Leave a Reply

Your email address will not be published. Required fields are marked *