How to Create Dynamic Forms with Conditional Logic

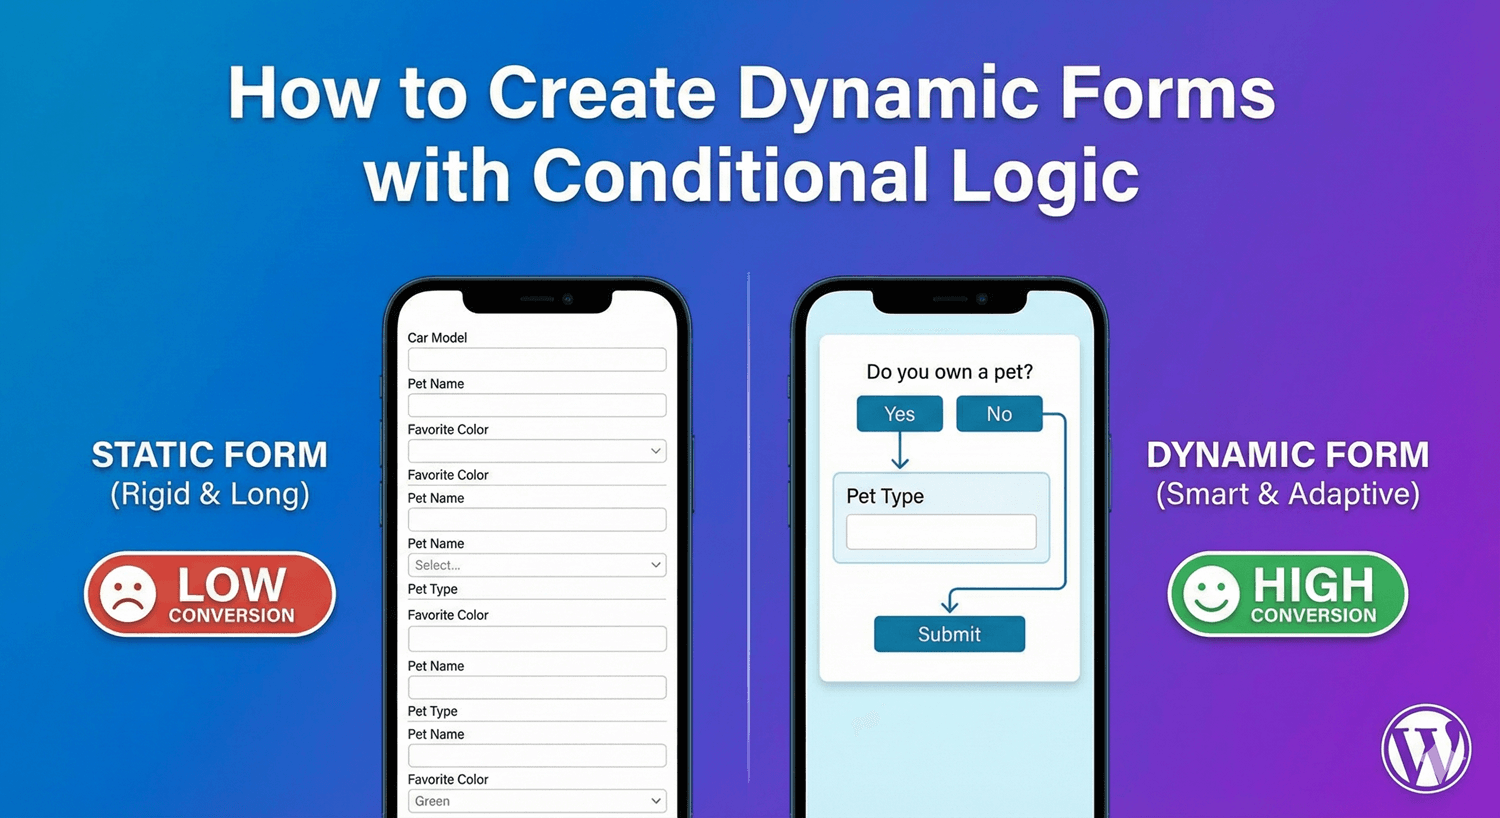
Static forms ask every visitor the same questions — whether they apply or not. Dynamic forms adapt in real time, showing only the fields relevant to each person’s answers. A customer selecting “Billing issue” sees payment fields. A prospect selecting “Sales inquiry” sees company size and budget questions instead.

Conditional logic is what makes this possible. In Auto Form Builder, you add show/hide rules to any field so the form reshapes itself as users type, click, and select — without custom JavaScript or a separate add-on.

Last updated: Last update 7 July

What Are Dynamic Forms?

A dynamic form changes its structure based on user input. Fields appear, disappear, or become active depending on previous answers. This creates a personalized experience that:

  • Reduces clutter — Visitors see fewer irrelevant questions
  • Improves completion rates — Shorter, focused forms convert better
  • Collects better data — Follow-up questions match the context of earlier answers
  • Feels professional — The form responds intelligently to each user

Auto Form Builder implements dynamic behavior through field-level conditional logic (show/hide fields on the frontend) and form-level conditional rules (change notifications, confirmation emails, and success behavior after submission).

How Conditional Logic Works in Auto Form Builder

When a form loads, fields configured with “Show” logic are pre-hidden server-side to prevent a flash of content before JavaScript runs. As the visitor interacts with the form, the conditional logic engine:

  1. Detects changes on trigger fields (radio, dropdown, checkbox, text, number, and more)
  2. Evaluates each rule using the selected operator
  3. Combines rules with AND or OR logic
  4. Shows or hides dependent fields instantly
  5. Disables inputs on hidden fields so they are not submitted
  6. Re-evaluates in multiple passes to support chained logic (Field A → Field B → Field C)

On submission, the server skips validation for required fields that were hidden — users are never blocked by questions they could not see.

Step 1: Open Conditional Logic on Any Field

Conditional logic is available on every field type through the field settings panel in the form builder:

  1. Open your form in the form builder (Fields tab)
  2. Click the field you want to make dynamic (the dependent field that appears or disappears)
  3. Scroll to the Conditional Logic section in the settings sidebar
  4. Check Enable Conditional Logic

The trigger field (the one whose answer controls visibility) must appear earlier in the form than the dependent field. Place screening or category questions near the top.

Step 2: Define Show or Hide Rules

Each condition follows this pattern:

[Show or Hide] this field if [trigger field] [operator] [value]

  • Show — Field is hidden by default and appears when conditions are met (most common pattern)
  • Hide — Field is visible by default and disappears when conditions are met

Click Add Condition to add more rules. Choose how rules combine:

  • All conditions must be met (AND) — Every rule must be true
  • Any condition can be met (OR) — At least one rule must be true

Step 3: Choose the Right Operator

Auto Form Builder supports eight comparison operators:

  • Equals — Exact match (radio buttons, dropdowns, single-choice answers)
  • Not equals — Does not match
  • Contains — Value includes text (checkbox multi-select, text fields)
  • Doesn’t contain — Value does not include text
  • Greater than — Numeric comparison above a threshold
  • Less than — Numeric comparison below a threshold
  • Is empty — Field has no value (no comparison value needed)
  • Is not empty — Field has any value (no comparison value needed)

For radio and dropdown fields, enter the option’s stored value (editable in field settings), not necessarily the display label.

Step 4: Save and Test on the Frontend

Conditional logic runs on the live form frontend, not in the builder canvas preview. After configuring rules:

  1. Click Save Form
  2. Embed or preview the form on your site
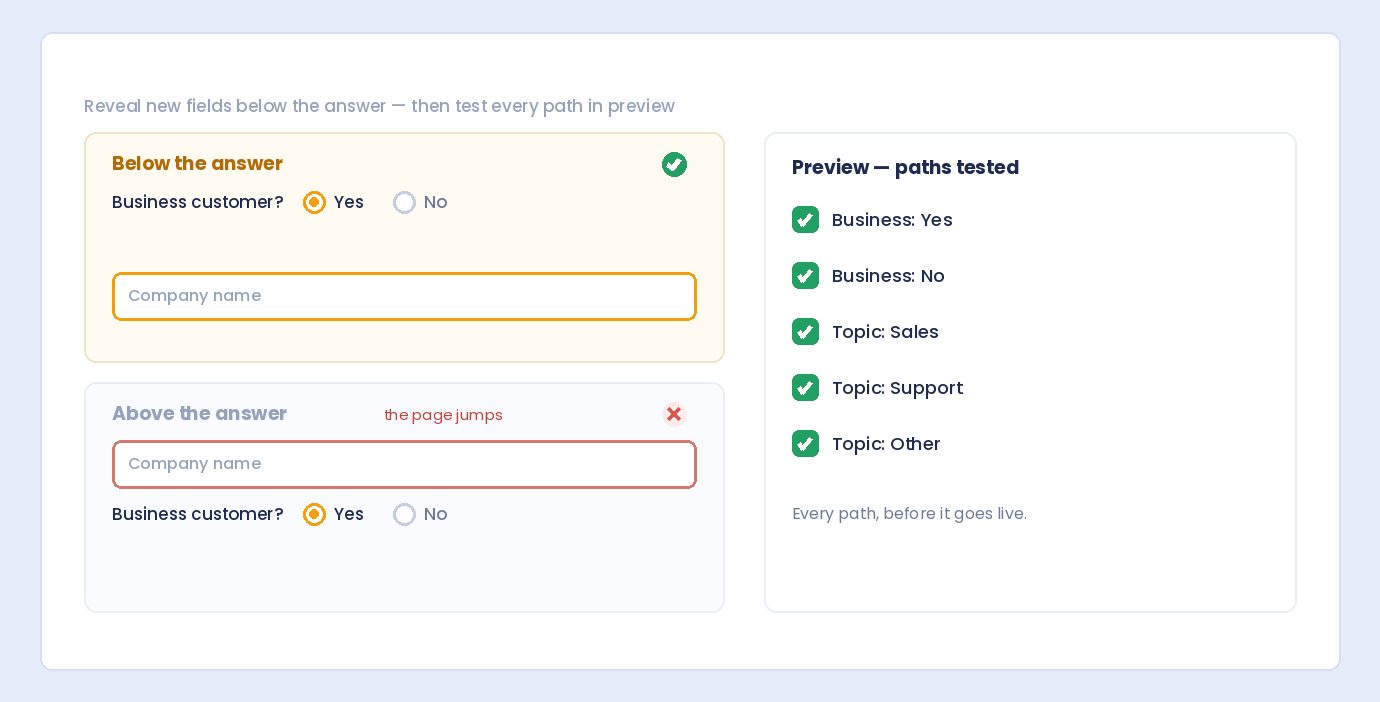
  3. Test each answer path — change trigger field values and confirm dependent fields appear and disappear correctly
  4. Submit the form on each path to verify hidden required fields do not cause validation errors

Example: Dynamic Quote Request Form

Build a form that adapts based on the service the visitor needs.

Fields to add

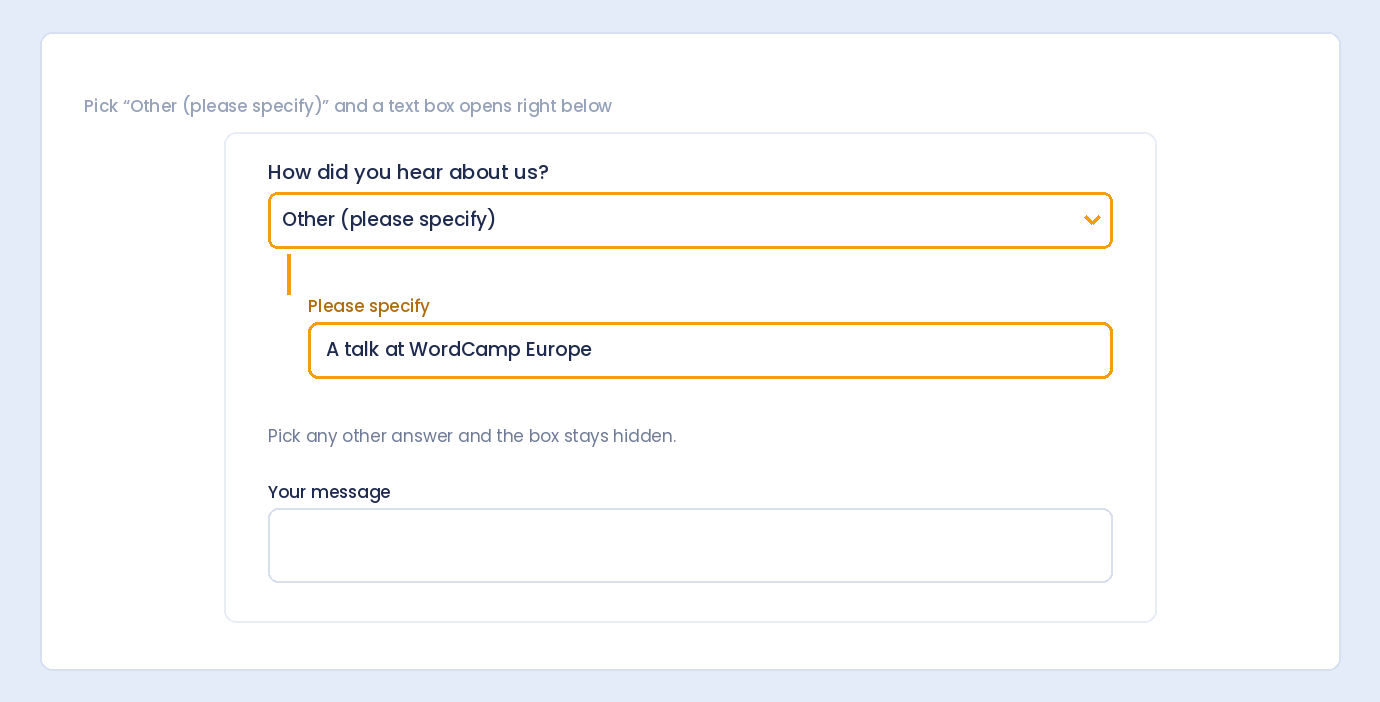
  • Dropdown — “What service do you need?” (Web Design, SEO, Branding, Other)
  • Text Input — “Current website URL” (web design only)
  • Number — “Monthly ad budget” (SEO only)
  • File Upload — “Upload your brand guidelines” (branding only)
  • Text Area — “Describe your project” (Other only)
  • Email — Contact email (always visible)

Conditional logic setup

  • Current website URL → Show if Service Equals web_design
  • Monthly ad budget → Show if Service Equals seo
  • Upload brand guidelines → Show if Service Equals branding
  • Describe your project → Show if Service Equals other

Each visitor sees a tailored form with only the fields relevant to their selected service — one form, four distinct experiences.

Example: Dynamic Support Ticket Form

Route users to the right follow-up fields based on issue type.

  • Radio Buttons — “Issue type” (Technical, Billing, Account, General)
  • Text Input — “Order number” → Show if Issue type Equals billing
  • Text Input — “Username” → Show if Issue type Equals account
  • Dropdown — “Affected product” → Show if Issue type Equals technical OR account (use OR logic)
  • Text Area — “Describe the issue” (always visible, required)

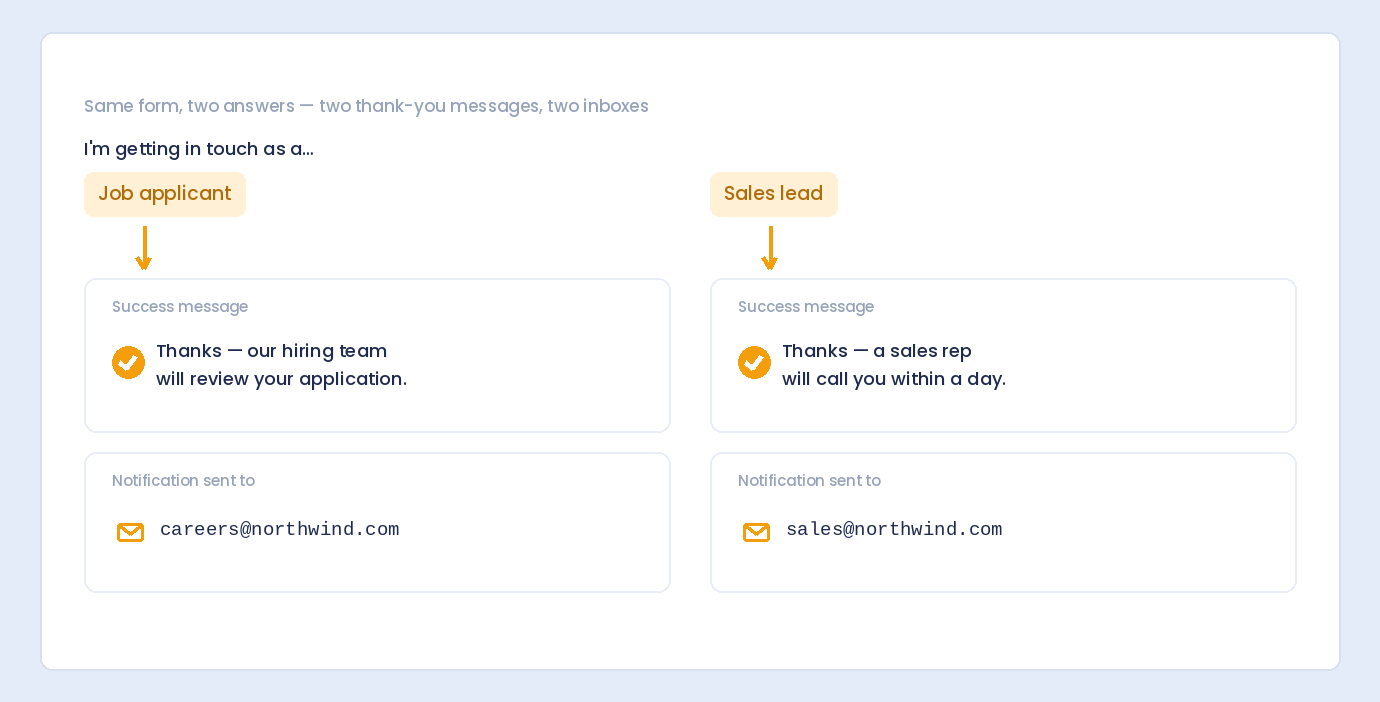
Under Settings → Email Notifications → Conditional Notification Rules, route billing issues to finance@ and technical issues to support@ — extending dynamic behavior beyond field visibility to where submissions are sent.

Example: Chained Conditional Logic

Dynamic forms can go multiple levels deep. Auto Form Builder evaluates conditions in up to 20 passes, resolving chains like:

  • Level 1: “Are you a business?” (Yes/No) → shows Company Name
  • Level 2: “Company size” (dropdown) → shows Enterprise fields only when size is “500+”
  • Level 3: “Do you need a dedicated account manager?” → shows Contact Preference only for enterprise

Each level depends on the previous answer. The multi-pass engine ensures Field C updates correctly when Field A changes, even if Field B sits in between.

Form-Level Conditional Logic

Field-level logic controls what visitors see while filling out the form. Form-level rules control what happens after they submit — using the same operators and AND/OR logic, evaluated server-side. The first matching rule wins.

Conditional Confirmations

Under Settings → Submission Behavior → Conditional Confirmations, show different success messages or redirect to different URLs based on submitted answers.

Conditional Notification Rules

Under Settings → Email Notifications, send admin alerts to different email addresses — or skip notifications entirely — based on form data.

Conditional Confirmation Email Rules

Under Settings → User Confirmation Email, send different thank-you emails to submitters based on their answers.

Together, field-level and form-level logic create a fully dynamic form experience from first question through final confirmation.

Which Field Types Work as Triggers?

Any field with a user-editable value can trigger conditional logic:

  • Radio Buttons — Best for clear single-choice branching
  • Dropdown — Compact single-choice triggers
  • Checkbox — Single or multi-select; use Contains for multi-select groups
  • Text Input / Text Area — Text-based conditions with Equals, Contains, Is empty
  • Number — Threshold-based logic with Greater than and Less than
  • Email / Phone — Is not empty triggers for progressive disclosure
  • Date / Time — Date-based conditions

HTML Block fields can also have conditional logic applied, letting you show or hide section headers and instructional text along with the fields they introduce.

AND vs OR: When to Use Each

AND — All conditions required

Use when a field should appear only when every condition is true.

Example: Show “VAT number” only if Country Equals uk AND Customer type Equals business.

OR — Any condition sufficient

Use when a field should appear if any condition is true.

Example: Show “Urgent contact phone” if Priority Equals high OR Issue type Equals outage.

Best Practices for Dynamic Forms

  • Map the flow before building — Sketch trigger fields and dependent fields on paper first
  • Place triggers before dependents — Field order matters for clarity and setup
  • Use Show logic by default — Hide follow-up fields until needed rather than hiding common fields
  • Set meaningful option values — Use clear values like billing and technical in radio and dropdown settings
  • Test every path on the frontend — Builder preview does not evaluate conditional logic; test the live form
  • Keep chains manageable — Two to three levels of branching is ideal; deeper chains are harder to maintain
  • Mark visible follow-ups as required — Required hidden fields are skipped automatically, but required visible fields ensure data quality
  • Add HTML Blocks for context — Section headers explain why new fields appeared
  • Combine with form-level rules — Match dynamic fields with conditional notifications and confirmations for end-to-end logic
  • Style for clarity — Use the Customize tab so appearing fields feel like a natural part of the form, not a jarring pop-in

Common Mistakes to Avoid

  • Matching display labels instead of values — Conditions compare stored option values, not visible text
  • Dependent field placed before trigger — Confusing to build and illogical for users even if JavaScript still evaluates correctly
  • Testing only in the builder — Conditional logic runs on the frontend; always test the published form
  • Using Contains on single-choice fields — Equals is more reliable for radio and dropdown triggers
  • Forgetting chained paths — Test A → B → C chains, not just the first level of branching
  • No form-level ending logic — Different user paths should get appropriate thank-you messages via conditional confirmations

Frequently Asked Questions

What is conditional logic in a WordPress form?

Conditional logic shows or hides form fields based on a visitor’s previous answers. In Auto Form Builder, enable it per field in the settings panel and define rules with trigger fields, operators, and values.

How do I make a dynamic form in Auto Form Builder?

Add a trigger field (radio, dropdown, or similar), then on each dependent field enable Conditional Logic and set Show rules based on the trigger answer. Save and test on the live form frontend.

Can I combine multiple conditions with AND and OR?

Yes. Set Logic Type to All (AND) when every condition must be true, or Any (OR) when at least one condition is enough. Add multiple conditions per field.

Are hidden fields still validated as required?

No. Fields hidden by conditional logic have their inputs disabled and are excluded from submission. Server-side validation skips required checks on hidden fields.

Does conditional logic work with nested row fields?

Yes. Conditional logic applies to fields inside row layouts as well as top-level fields. The engine processes nested fields recursively.

Is conditional logic included in the free plugin?

Yes. Field-level conditional logic with show/hide rules, AND/OR logic, eight operators, chained evaluation, and form-level conditional confirmations and email rules are included in the free Auto Form Builder plugin.

Get Started with Auto Form Builder

Turn static forms into dynamic experiences that adapt to every visitor. Conditional logic, form-level rules, and a full field library are ready to use — no coding required.

Download:
Auto Form Builder on WordPress.org

Plugin last updated: Last update 7 July

Build forms that embed anywhere — free

Auto Form Builder lets you create multi-step forms, calculators, and lead capture forms in WordPress, then embed them on any site with a single line of code.

Install the free plugin

Leave a Reply

Your email address will not be published. Required fields are marked *