How to Build Survey Forms with Branching Logic
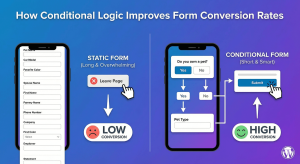
A one-size-fits-all survey frustrates respondents and produces weak data. Someone who answered “No” to “Are you a current customer?” should not see follow-up questions about their account manager. Someone who rated your service 9 out of 10 should not get the same open-ended complaint field as someone who rated it 2.
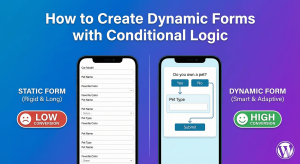
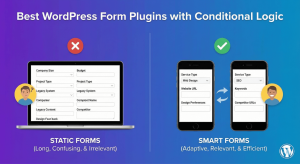
Branching logic — also called skip logic or conditional questions — solves this by showing only the questions relevant to each respondent’s answers. In Auto Form Builder, branching logic is built into every field through Conditional Logic settings that show or hide fields dynamically on the frontend.
Last updated: Last update 7 July
What Is Branching Logic in Surveys?
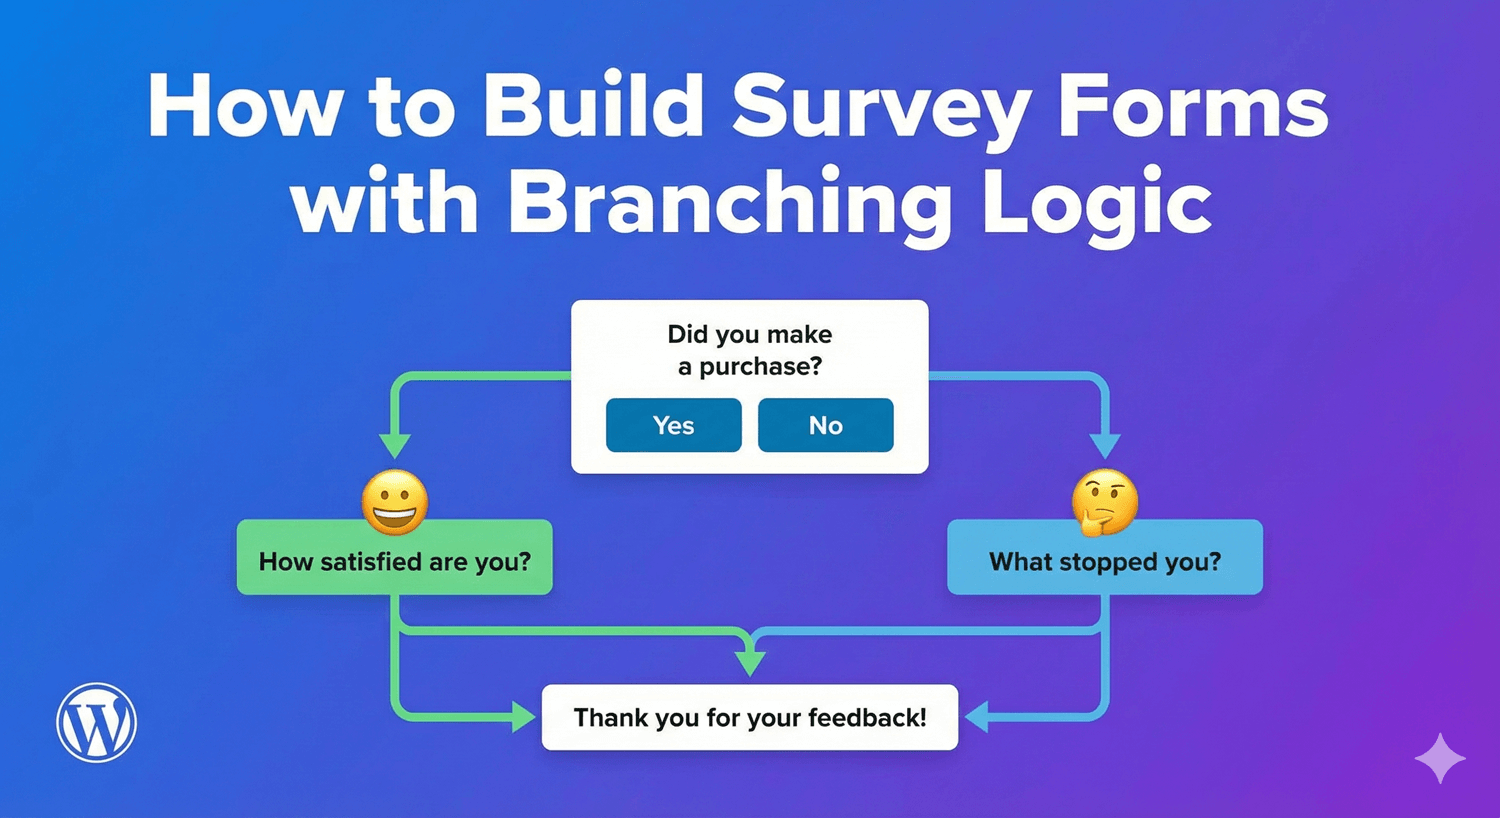
Branching logic routes respondents through different question paths based on their previous answers. Instead of presenting every question to every person, the form adapts in real time:
- Skip irrelevant sections — Hide questions that do not apply
- Drill into specifics — Show detailed follow-ups only when a trigger answer is selected
- Segment by audience — Display different question sets for customers vs prospects
- End with relevant messaging — Show different thank-you messages or redirect URLs based on responses
In Auto Form Builder, field-level branching uses show/hide conditional logic on individual fields. Form-level branching uses conditional confirmation rules to change what happens after submission.
Survey Field Types for Branching
Auto Form Builder includes field types well suited for surveys:
- Radio Buttons — Single-choice questions (ideal branching triggers). Supports vertical, horizontal, and grid layouts; “Other” option; “None of the above”; and randomize order to reduce bias
- Dropdown — Single-choice questions in a compact select menu
- Checkbox — Single checkbox or multi-select checkbox groups for “select all that apply” questions
- Number — Numeric ratings with min/max/step, percentage format, and optional slider display for scale questions
- Text Input / Text Area — Open-ended follow-up responses
- HTML Block — Section headers, instructions, and intro text between question groups (not submitted as data)
Place branching trigger questions (radio, dropdown, checkbox, or number) early in the form, then attach conditional logic to the follow-up fields that depend on those answers.
How Conditional Logic Works
Every field in Auto Form Builder includes a Conditional Logic section in its settings panel. When enabled, you define rules that control whether the field is visible:
- Show — Display the field only when conditions are met
- Hide — Hide the field when conditions are met
Each rule specifies:
- Trigger field — The earlier question whose answer determines visibility
- Operator — How to compare the answer (see operators below)
- Value — The answer to match against
Combine multiple rules with:
- All conditions must be met (AND) — Every rule must be true
- Any condition can be met (OR) — At least one rule must be true
On the frontend, conditional logic runs in JavaScript as the respondent answers questions. Fields hidden by logic have their inputs disabled so they are not submitted. Hidden required fields are also skipped during server-side validation — respondents are never blocked by questions they could not see.
The engine supports chained branching — when Field A controls Field B, and Field B controls Field C, multi-pass evaluation resolves the full chain automatically.
Available Condition Operators
Auto Form Builder supports eight operators for branching rules:
- Equals — Answer exactly matches a value (most common for radio and dropdown branching)
- Not equals — Answer does not match a value
- Contains — Answer includes a value (useful for checkbox multi-select and text fields)
- Doesn’t contain — Answer does not include a value
- Greater than — Numeric answer is above a threshold (NPS-style branching)
- Less than — Numeric answer is below a threshold
- Is empty — Field has no answer
- Is not empty — Field has any answer
For radio and dropdown fields, use the option’s value (not the display label) in your condition. You can view and edit option values in the field settings.
Step-by-Step: Build a Customer Satisfaction Survey with Branching
This example creates a survey that branches based on whether the respondent is a customer and how they rate the service.
Step 1: Add the screening question
Add a Radio Buttons field labeled “Are you a current customer?” with options:
- Yes (value:
yes) - No (value:
no)
Step 2: Add customer-only questions
Add fields only existing customers should answer:
- Number — “How likely are you to recommend us?” (min: 0, max: 10, enable slider)
- Text Area — “What do you value most about our service?”
On each customer-only field, open settings, enable Conditional Logic, and add a rule:
- Show this field if Are you a current customer? Equals
yes
Step 3: Add prospect-only questions
Add a field for non-customers:
- Dropdown — “How did you hear about us?” with options like Search Engine, Social Media, Referral, Advertisement
Enable conditional logic:
- Show this field if Are you a current customer? Equals
no
Step 4: Branch on the NPS score
Add two follow-up fields after the rating question:
- Text Area — “What could we improve?” (for low scores)
- Text Area — “What do you love most about us?” (for high scores)
Set conditional logic on the improvement question:
- Show if How likely are you to recommend us? Less than
7 - Logic type: All (AND)
- Add a second rule: Show if Are you a current customer? Equals
yes
Set conditional logic on the praise question:
- Show if How likely are you to recommend us? Greater than
8 - Add a second rule: Show if Are you a current customer? Equals
yes
Step 5: Add section headers with HTML Blocks
Insert HTML Block fields between question groups for section titles like “Customer Feedback” or “Tell Us About Yourself.” HTML blocks display instructions without creating submission data.
Step 6: Set conditional thank-you messages
Go to the form’s Settings tab → Submission Behavior → Conditional Confirmations. Add rules so different respondents see different endings:
- If NPS score Greater than
8→ Show message: “Thank you! Would you leave us a review?” - If NPS score Less than
7→ Show message: “Thank you for your honest feedback. Our team will follow up shortly.”
The first matching rule wins. If no rule matches, the default success message is shown.
Step 7: Save and test every branch
Save the form and test each path: customer with high score, customer with low score, and non-customer. Confirm that hidden questions do not appear and that required fields on hidden branches do not block submission.
Branching Patterns for Common Survey Types
Screening survey
Start with a qualifying question (radio or dropdown). Show the main survey only to qualified respondents. Show a “Thank you, this survey is not for you” HTML block or redirect non-qualified respondents using conditional confirmations.
Product feedback survey
Ask “Which product did you use?” (dropdown). Branch follow-up questions per product. Use Contains on checkbox fields for “Which features did you use?” to show feature-specific rating questions.
Employee engagement survey
Use number fields with sliders for satisfaction scales (1–5 or 1–10). Branch open-ended follow-ups with Less than or Greater than operators. Randomize radio option order to reduce order bias.
Event feedback survey
Ask “Did you attend in person or virtually?” (radio). Show venue-specific questions for in-person attendees and platform-specific questions for virtual attendees. Use conditional confirmation emails to send different thank-you messages per attendance type.
Market research survey
Use checkbox multi-select for “Which categories interest you?” Branch entire question sections with Contains conditions — show the tech section if “technology” is checked, show the health section if “health” is checked. Use OR logic when a section should appear if any of several categories are selected.
AND vs OR: Choosing the Right Logic Type
Use AND when every condition must be true
Example: Show “Account manager feedback” only if the respondent is a customer AND selected “Enterprise” plan.
- Rule 1: Customer type Equals
yes - Rule 2: Plan type Equals
enterprise - Logic type: All (AND)
Use OR when any condition is enough
Example: Show “Complaint details” if the rating is low OR the respondent selected “Unsatisfied.”
- Rule 1: Rating Less than
4 - Rule 2: Satisfaction Equals
unsatisfied - Logic type: Any (OR)
Form-Level Branching: Conditional Confirmations and Emails
Field-level logic controls which questions appear. Form-level conditional rules control what happens after submission — extending branching to the survey ending:
Conditional Confirmations
Under Settings → Submission Behavior → Conditional Confirmations, define rules that change the success message or redirect URL based on answers. First matching rule wins.
Conditional Notification Rules
Under Settings → Email Notifications → Conditional Notification Rules, route submissions to different team members based on answers — send product feedback to product@ and billing issues to finance@.
Conditional Confirmation Email Rules
Under Settings → User Confirmation Email → Conditional Confirmation Email Rules, send different thank-you emails to respondents based on their survey path.
Collecting and Analyzing Branching Survey Data
Every submission — including only the questions the respondent actually saw — is stored in your WordPress database. View entries at Auto Form Builder → Submissions with search, form filters, date filters, and status management (unread, starred, read, spam, trash).
Export submission data in CSV, JSON, XLSX, or XML for analysis in spreadsheets or BI tools. Hidden-branch responses appear blank for questions the respondent did not see — which is expected and correct for branching survey analysis.
Enable admin email notifications for instant alerts on high-priority branches (for example, low satisfaction scores routed via conditional notification rules).
Best Practices for Survey Branching Logic
- Plan your flow on paper first — Map trigger questions and branches before building in the form builder
- Place trigger questions first — Branching fields should appear after the questions they depend on
- Use radio or dropdown for primary branches — Single-choice fields produce the cleanest equals/not-equals conditions
- Use option values consistently — Set meaningful values like
yesandnoinstead of relying on auto-generated slugs - Test every path — Submit the form once for each major branch and verify visibility, validation, and confirmation messages
- Keep branches shallow — Two to three levels of branching is manageable; deeper chains become hard to maintain and test
- Use HTML Blocks for context — Section headers help respondents understand why new questions appeared
- Do not mark hidden fields as required unless needed — Hidden required fields are skipped automatically, but marking visible follow-ups as required ensures data quality on active branches
- Randomize when bias matters — Enable randomize order on radio options for unbiased survey research
- Style the form for clarity — Use the Customize tab to apply a clean theme so branching transitions feel smooth, not jarring
Common Branching Logic Mistakes
- Wrong option value in conditions — Matching against the display label instead of the stored value causes rules to fail silently
- Trigger field placed after dependent fields — Conditional logic evaluates in real time, but building fields out of order makes setup confusing
- Using Contains for single-choice fields — Equals is more reliable for radio and dropdown; reserve Contains for checkbox multi-select and text
- Forgetting to test chained branches — A → B → C chains need testing on the full path, not just the first branch
- Too many questions on one page — Branching reduces visible questions, but very long single-page surveys still feel heavy; use HTML Blocks to break sections visually
- No conditional confirmation for dead-end branches — Non-qualified respondents should get a clear ending message, not the same generic thank-you as completed surveys
Frequently Asked Questions
What is branching logic in a survey form?
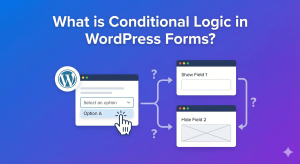
Branching logic shows or hides survey questions based on a respondent’s previous answers. In Auto Form Builder, this is implemented through Conditional Logic on individual fields, which dynamically controls visibility as the user fills out the form.
How do I add branching logic to a survey in Auto Form Builder?
Select the follow-up field in the form builder, open its settings, enable Conditional Logic, and add a rule such as “Show this field if [trigger field] Equals [value].” Save the form and test each branch path.
Can I use AND and OR conditions in survey branching?
Yes. Set Logic Type to “All conditions must be met (AND)” when every rule must be true, or “Any condition can be met (OR)” when at least one rule is enough. You can add multiple conditions per field.
Are hidden survey questions still required?
No. Fields hidden by conditional logic have their inputs disabled and are excluded from submission. Required validation is skipped for hidden fields, so respondents are never blocked by questions they could not see.
Can I branch to different thank-you pages based on survey answers?
Yes. Use Conditional Confirmations in form Settings to show different success messages or redirect to different URLs based on submitted answers. The first matching rule wins.
Which field types work best as branching triggers?
Radio buttons and dropdowns are ideal for single-choice branching. Number fields work well for score-based branching with greater-than and less-than operators. Checkbox groups work with the Contains operator for multi-select branching.
Get Started with Auto Form Builder
Build surveys that adapt to each respondent — show the right questions, skip the irrelevant ones, and end with the right message. Conditional logic, rating fields, section headers, and conditional confirmations are included in the free plugin.
Download:
Auto Form Builder on WordPress.org
Plugin last updated: Last update 7 July
Build forms that embed anywhere — free
Auto Form Builder lets you create multi-step forms, calculators, and lead capture forms in WordPress, then embed them on any site with a single line of code.
Install the free plugin